How to Configure SSO with Azure AD
Azure Active Directory (Azure AD) is a part of the Microsoft Azure cloud service that makes it possible to use SSO without employing on-premises Active Directory Federated Services. It is basically a cloud alternative to Microsoft Active Directory.
System Requirements
- A Microsoft Azure account with Azure AD Premium activated
- An Microsoft Azure user with Global administrator, Application administrator, Cloud application administrator role
- An iSpring Learn account
- An LMS user with the Account Owner or Account Administrator role
How to Set up SSO in Azure AD
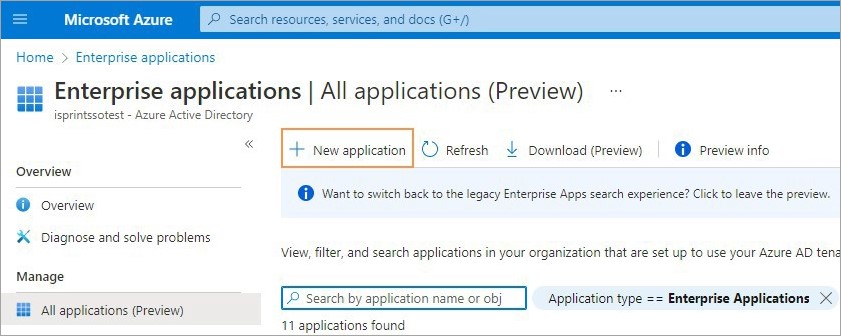
- Go to the Microsoft Azure Home Page. From the Azure services menu, select Enterprise applications.

- Then, click New application.
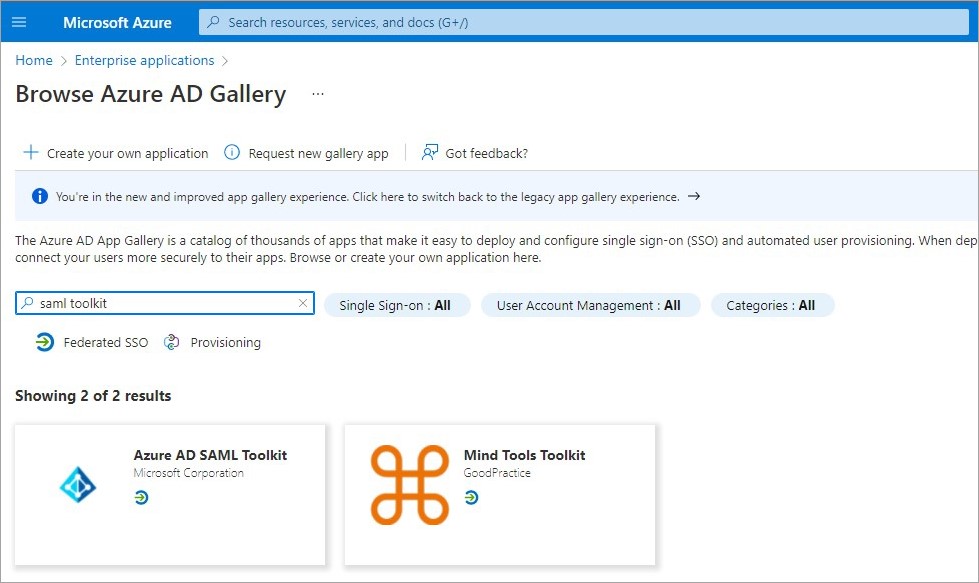
- Search for the Azure AD SAML Toolkit application and click on it.
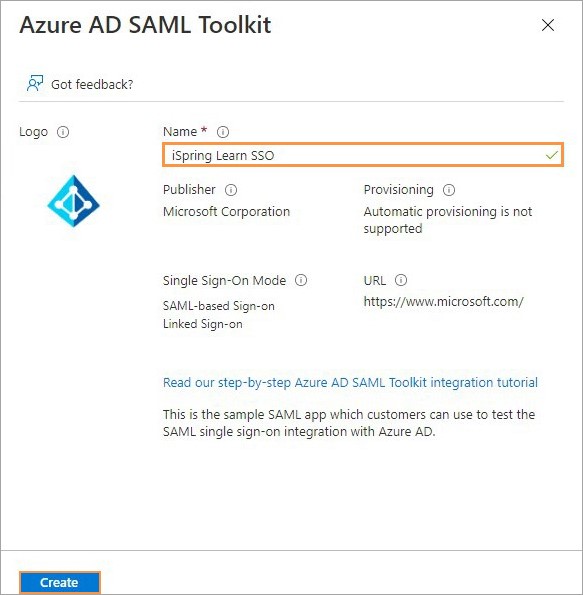
- Enter the name for the application, such as iSpring Learn SSO, and click Create.
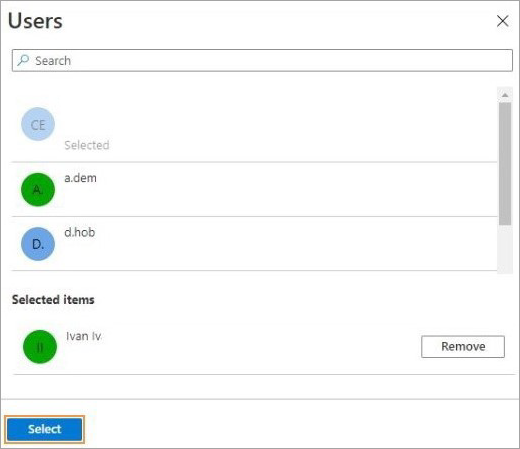
- Then, go to the Users and groups section. There, you can add all the users who should be able to log in to their iSpring Learn accounts using SSO.
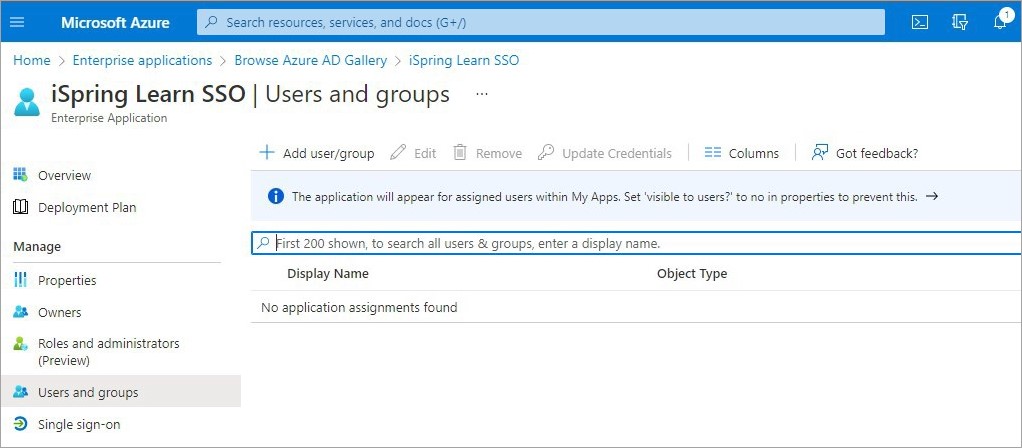
- Once you’ve selected users, click Select.
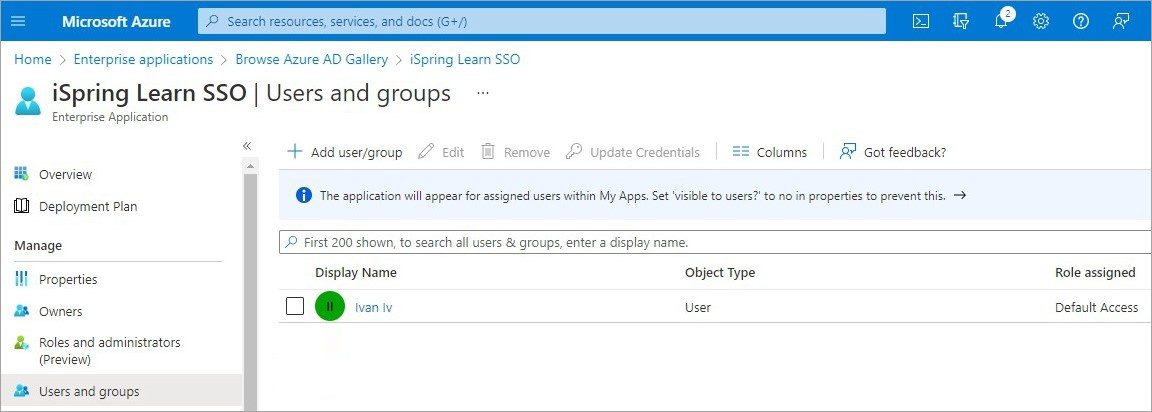
- Then, click Assign.

- Make sure the desired users and groups have been added.
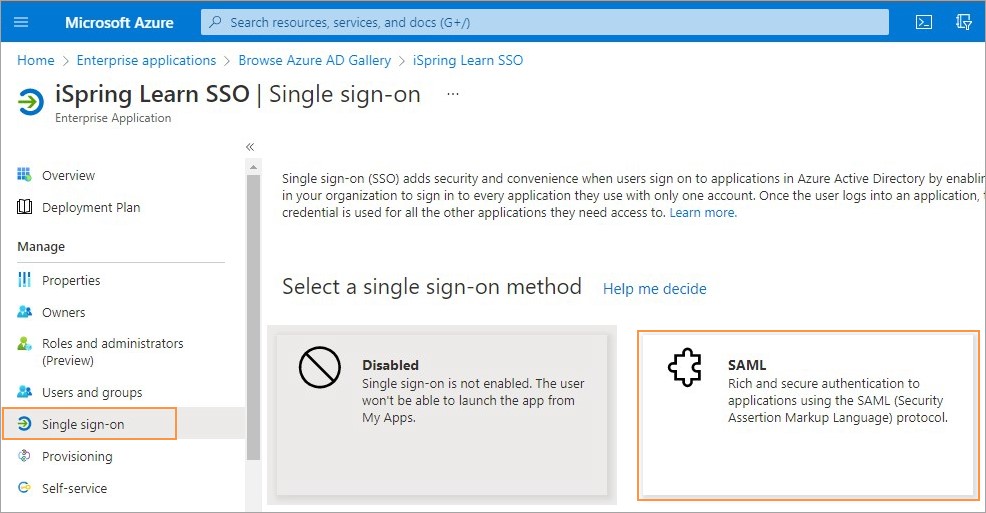
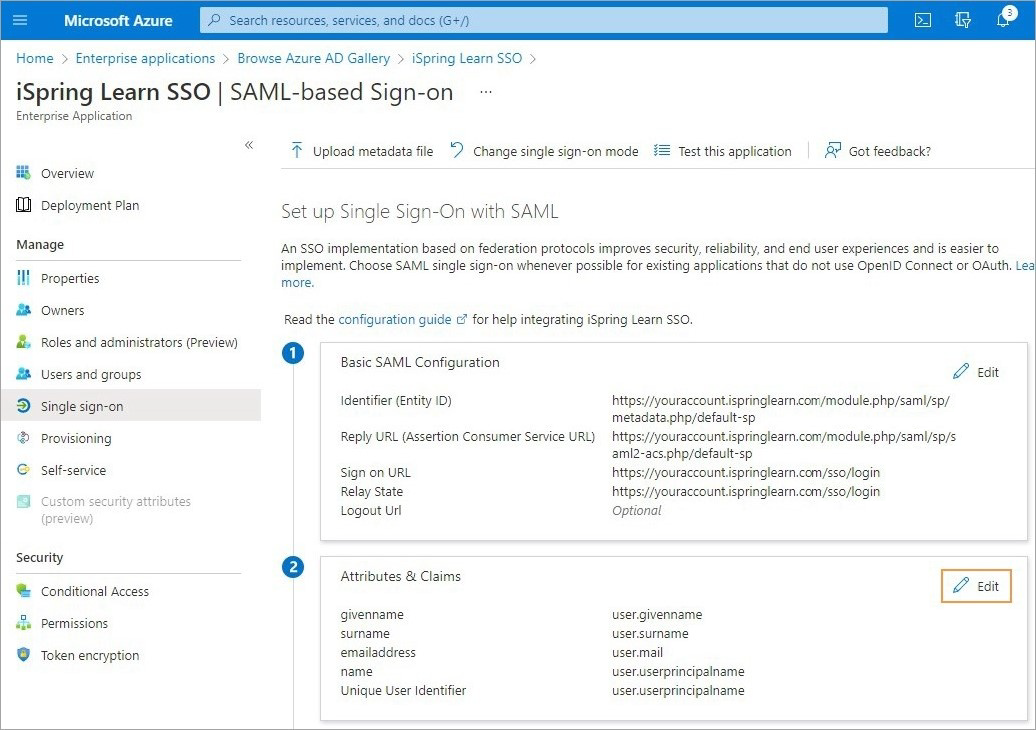
- Then, go to the Single sign-on section and select the SAML method.
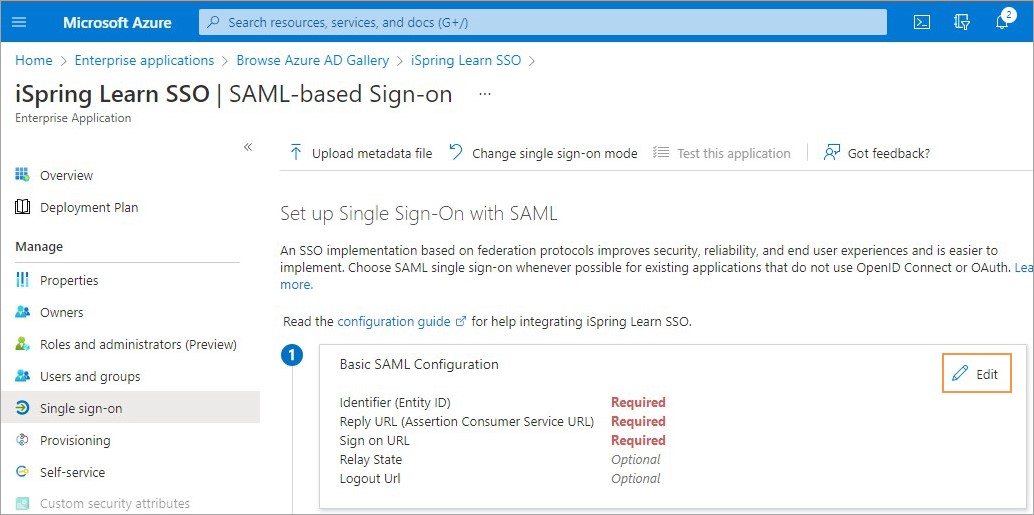
- In the first step, Basic SAML Configuration, click Edit.
Fill out Identifier (Entity ID), Reply URL (Assertion Consumer Service URL), and Relay State as shown in the table below.
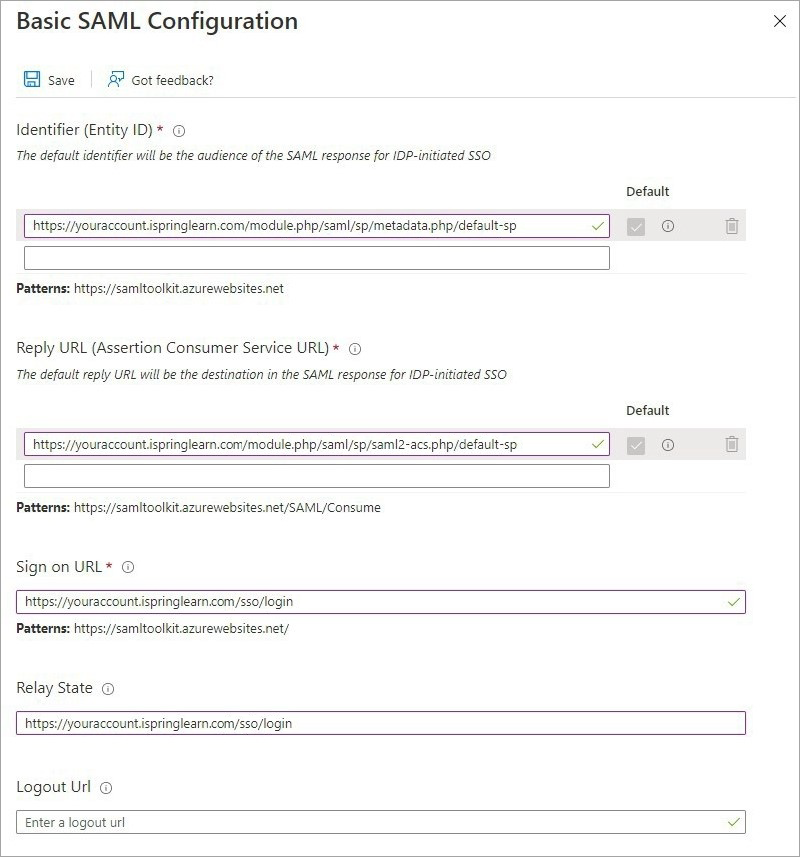
Identifier Example Identifier https://youraccount.ispringlearn.com/module.php/saml/sp/metadata.php/default-sp Reply URL https://youraccount.ispringlearn.com/module.php/saml/sp/saml2-acs.php/default-sp Sign On URL https://youraccount.ispringlearn.com/sso/login Relay State https://youraccount.ispringlearn.com/sso/login Logout URL Leave this field empty
+
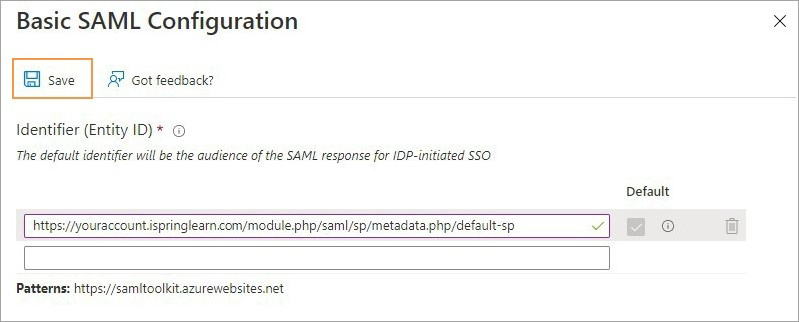
- Then, click Save.
- Now go to Attributes & Claims and click Edit.
- In the Required claim section, leave the Unique User Identifier (Name ID) at the default.
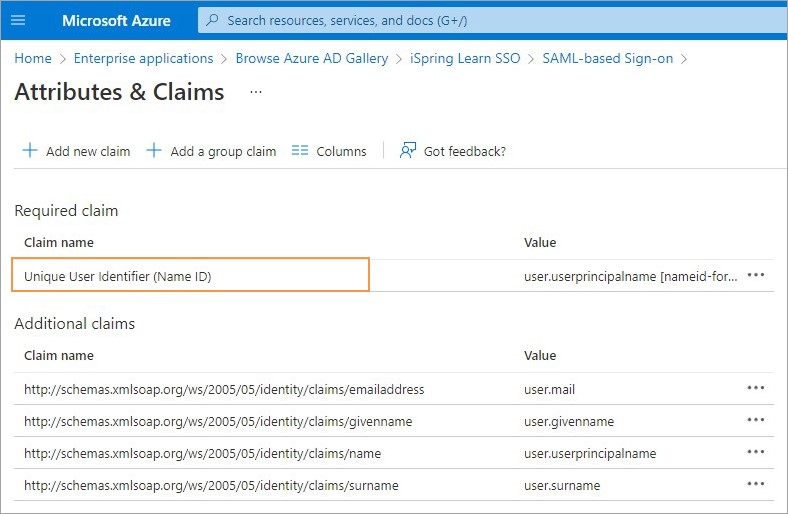
- In the Additional claims section, edit each value. To do this, click on the name of the value in the Value column.
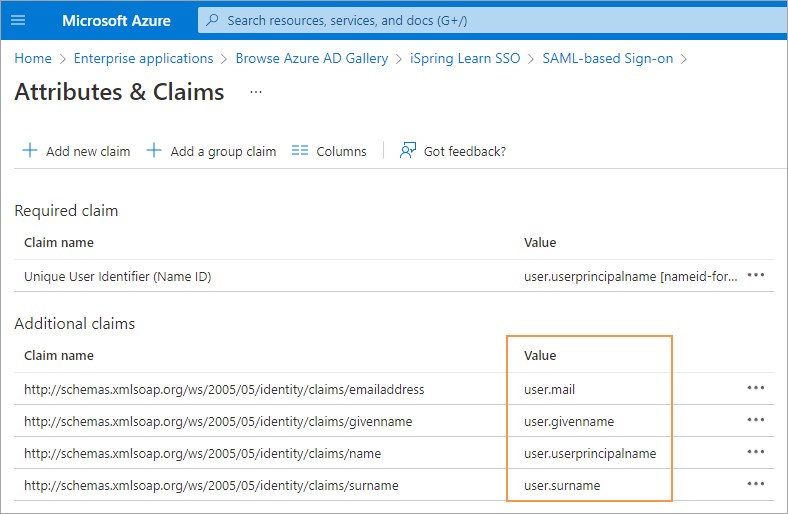
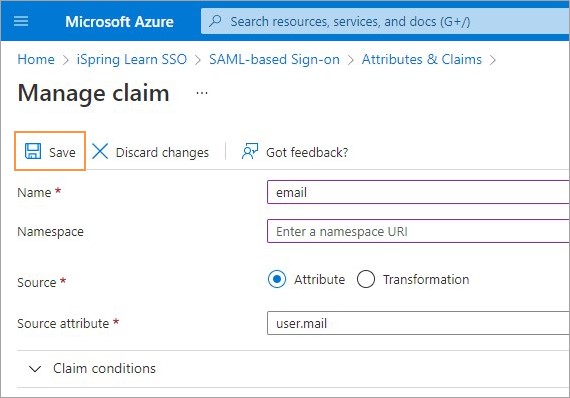
user.mail
In the Name field, type email.
In the Namespace field, delete the data and leave it empty.
For Source, select Attribute.
In the Source attribute field, leave the user.mail value which is the default.
Click Save.
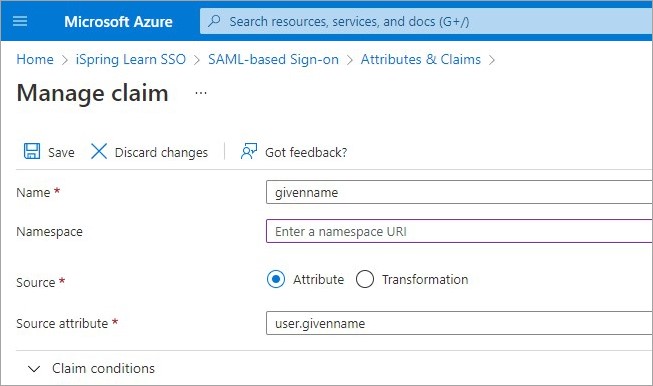
user.givenname
- In the Name field, type givenname.
- In the Namespace field, delete the data and leave it empty.
- For Source, select Attribute.
- In the Source attribute field, leave the user.givenname value which is the default.
- Click Save.
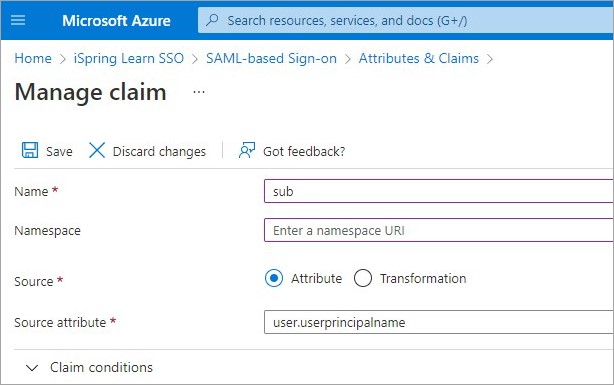
user.userprincipalname
In the Name field, type sub.
In the Namespace field, delete the data and leave it empty.
For Source, select Attribute.
In the Source attribute field, leave the userprincipalname value which is the default.
Click Save.
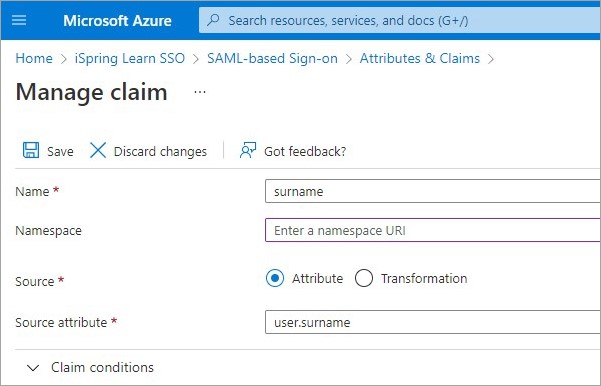
user.surname
In the Name field, type surname.
In the Namespace field, delete the data and leave it empty.
For Source, select Attribute.
In the Source attribute field, leave the user.surname value which is the default.
Click Save.
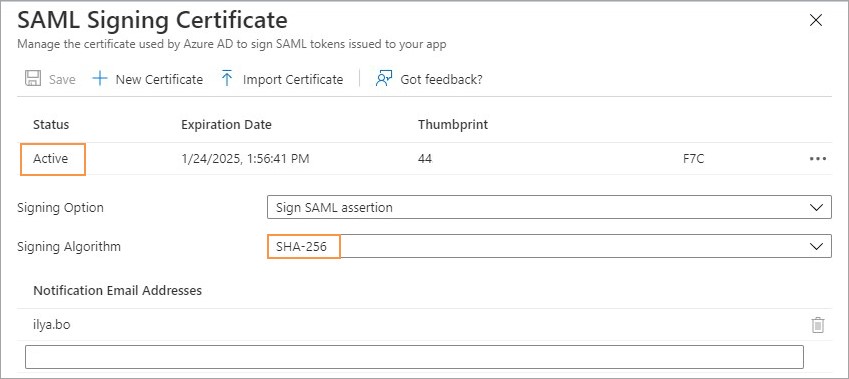
- After configuring the Attributes & Claims section, proceed to SAML Signing Certificate. Click Edit.
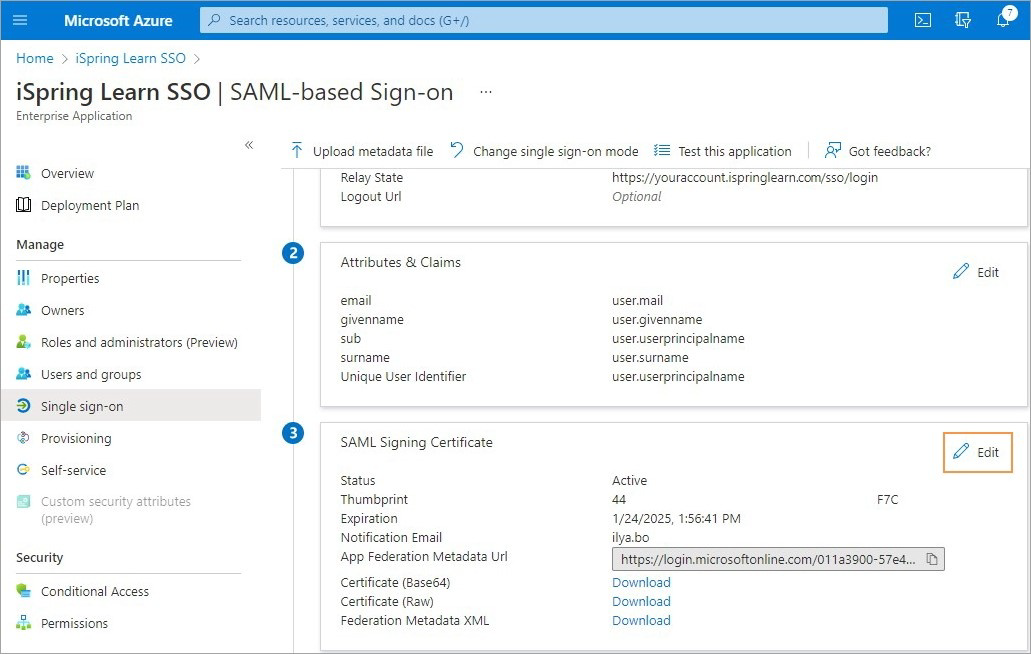
- Verify that the certificate is valid. Check that the value in the Status column is Active, the encryption algorithm in the Signing Algorithm field is SHA-256.
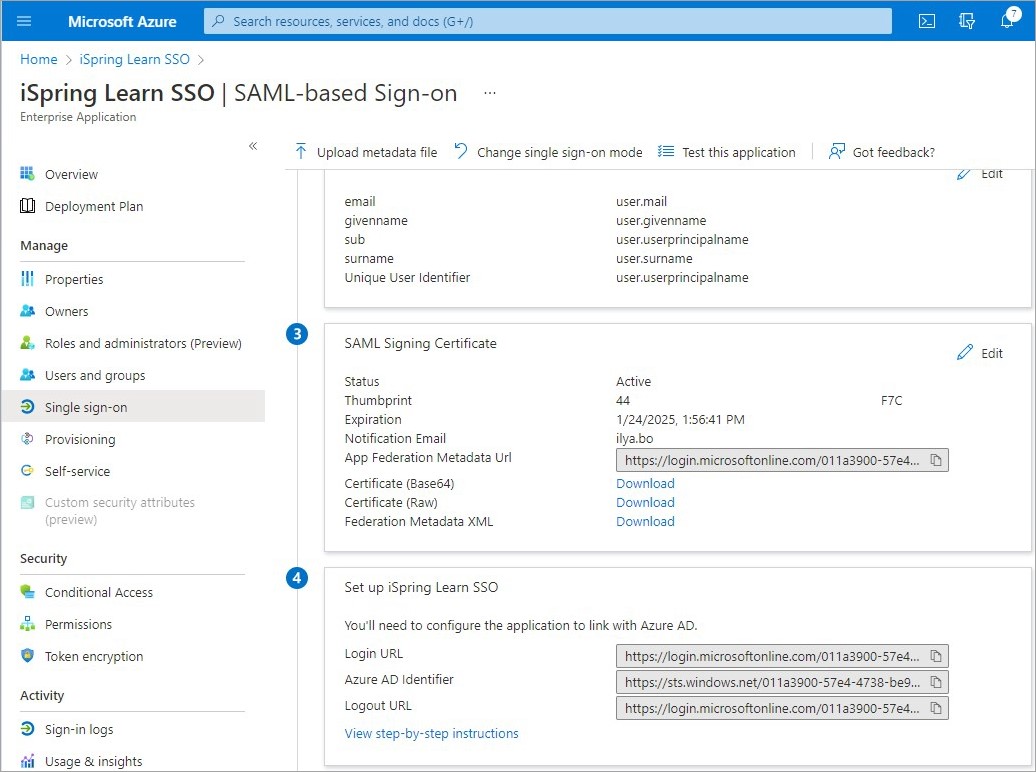
- Then go to Set up iSpring Learn SSO. The values of the Login URL and Azure AD Identifier fields will be required later when setting up SSO on the iSpring Learn LMS side.
Done! You’ve set up SSO on the Azure AD side.
How to Set up SSO in iSpring Learn
- Log in to your iSpring Learn account. Then go to the SSO Settings and click SAML.
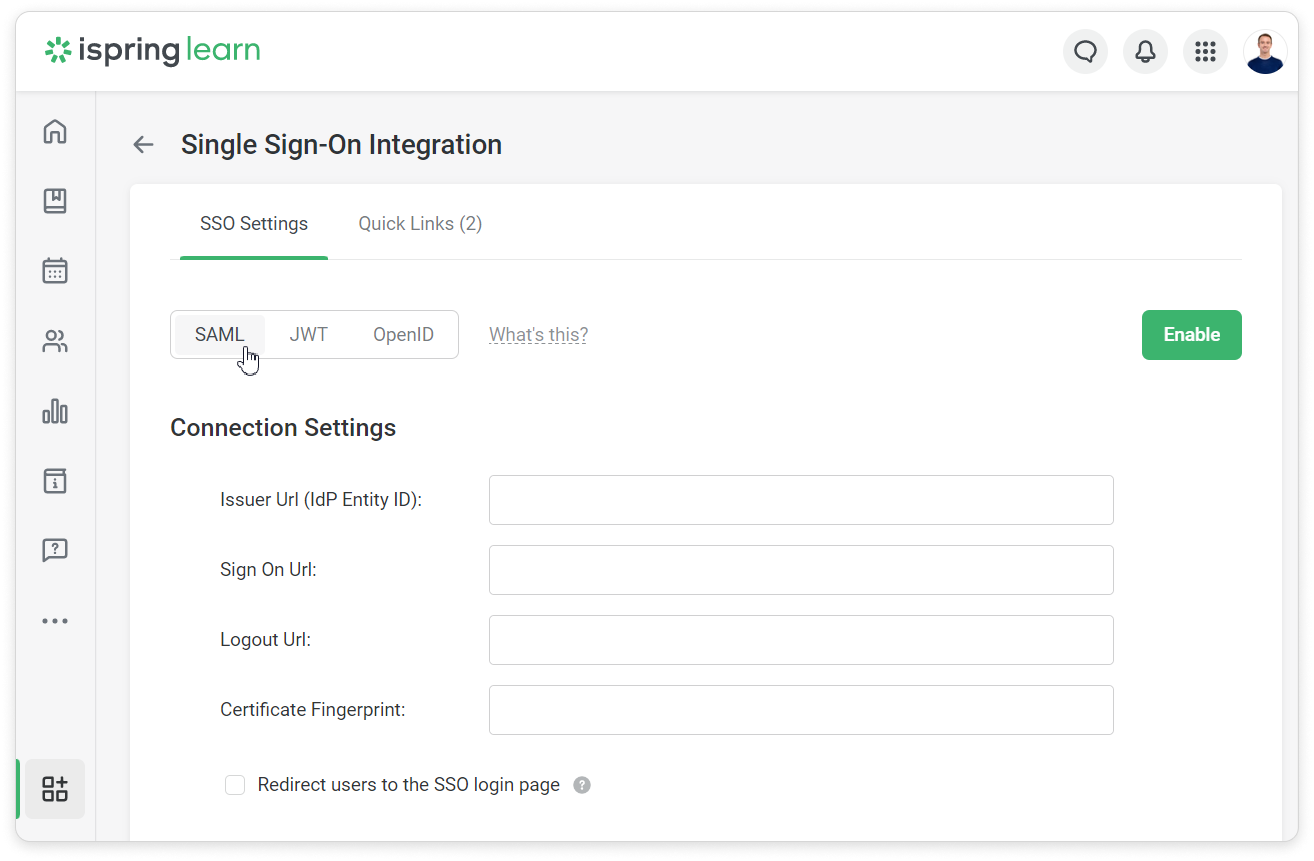
In the SSO integration settings page, fill in the fields with the information from Azure.
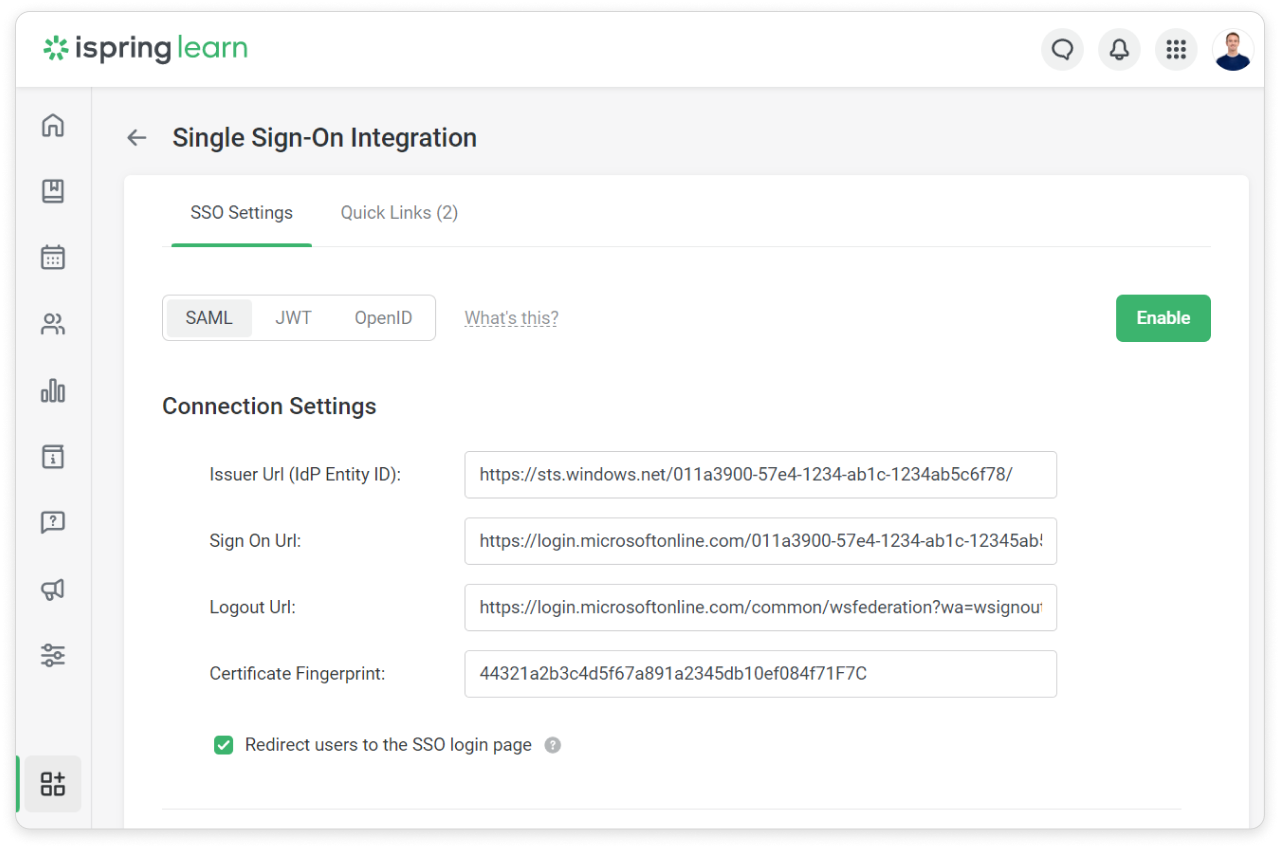
Issuer URL (IdP Entity ID) Azure AD Identifier Sign On URL Login URL
Logout URL Logout URL: https://login.microsoftonline.com/common/wsfederation?wa=wsignout1.0 Certificate Fingerprint Thumbprint
Redirect users to the SSO login page If this option is enabled, the iSpring login page will have the following URL: https://yourcompany.ispringlearn.com/sso/login. +
Proceed to Matching fields of iSpring Learn with the external SSO attributes. Match fields in iSpring Learn and in the SSO service.
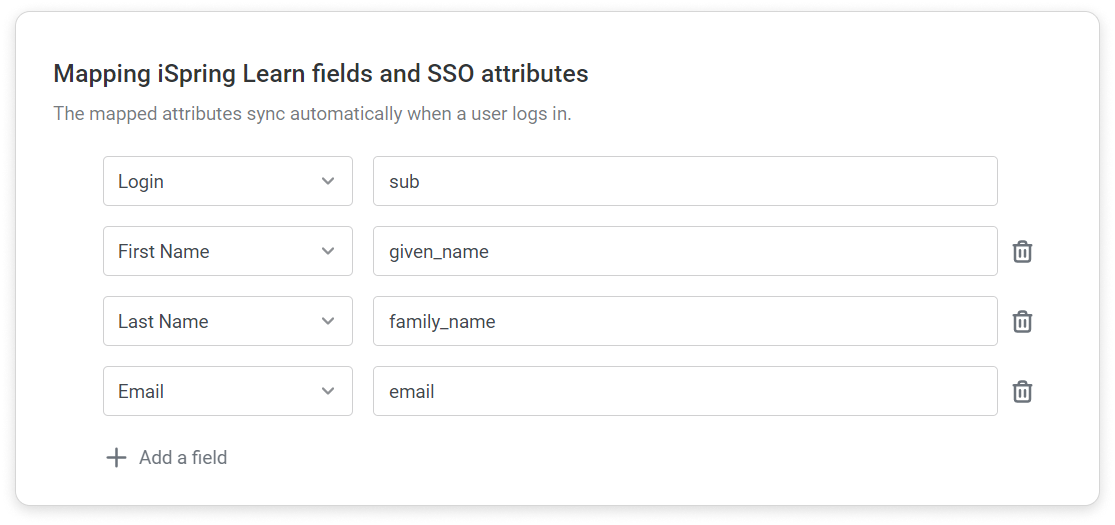
iSpring Learn Attributes
Azure AD Attributes Email email Last Name surname
First Name givenname Login sub 1
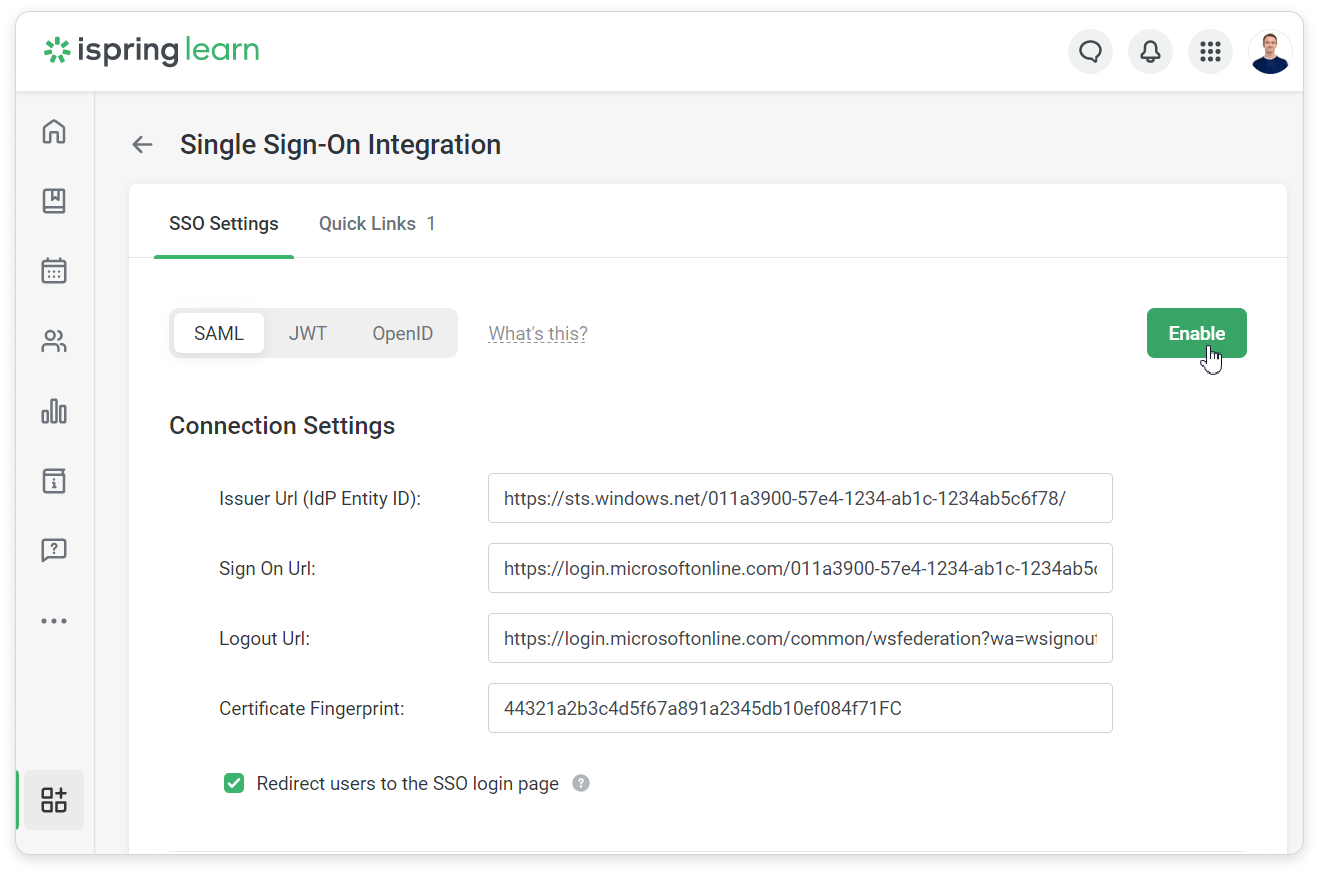
Next, сlick Enable.
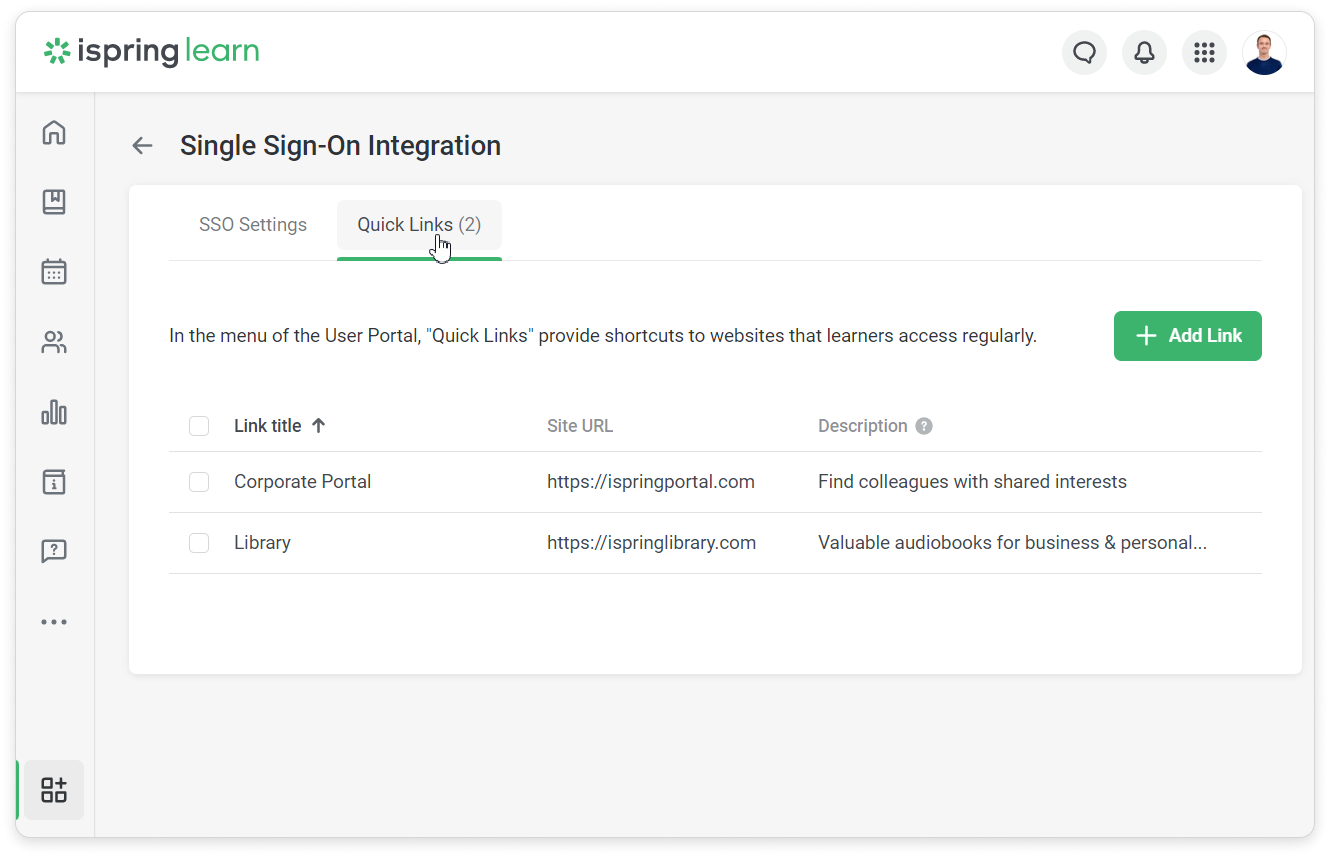
- Then, add link to the corporate site in the Quick Links section.
Verify Single Sign-On
- Go to your iSpring Learn account https://youraccount.ispringlearn.com/.
Click Log in with your corporate account.
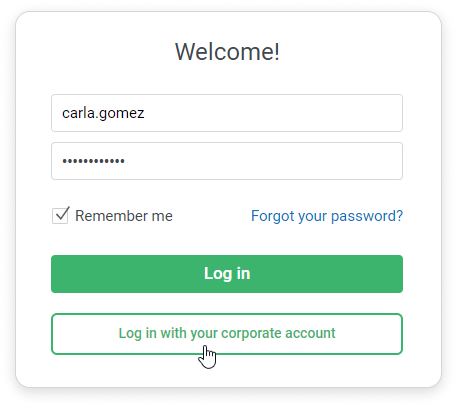
The user’s personal account will open. If an error occurs during configuration, please send a screenshot of the error to support@ispring.com.
Authorization without SAML
If you have enabled OpenID in your iSpring Learn account but are unable to log in using single sign-on for some reason, type the following web address: https://yourcompany.ispringlearn.com/login?no_sso.
Now you will sign in to the account as usual, using your login and password.