The first step in the creation of a Zap is called Trigger At this stage, select an application where the trigger event will occur and specify which event this will be.
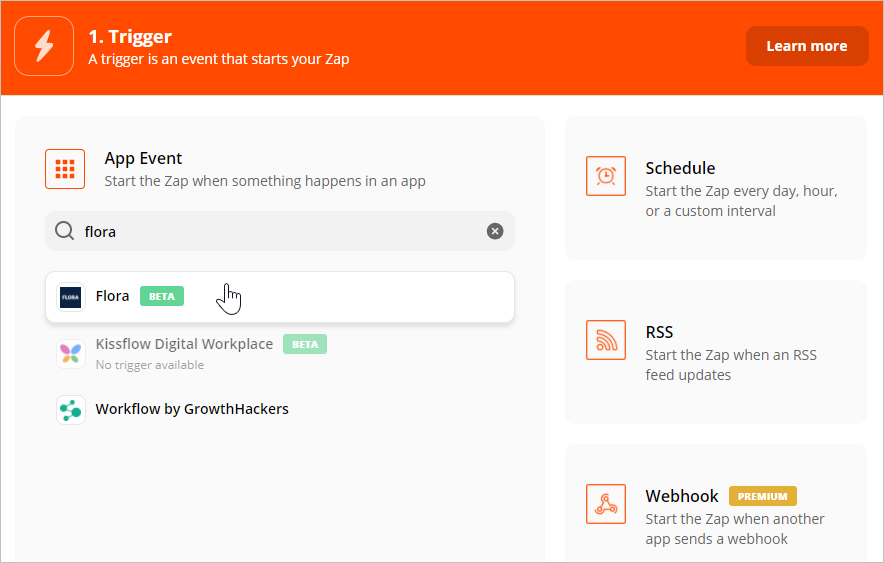
- First, locate the iSpring Market application. In the App Event section, enter "iSpring Market" and left-click the correct option.
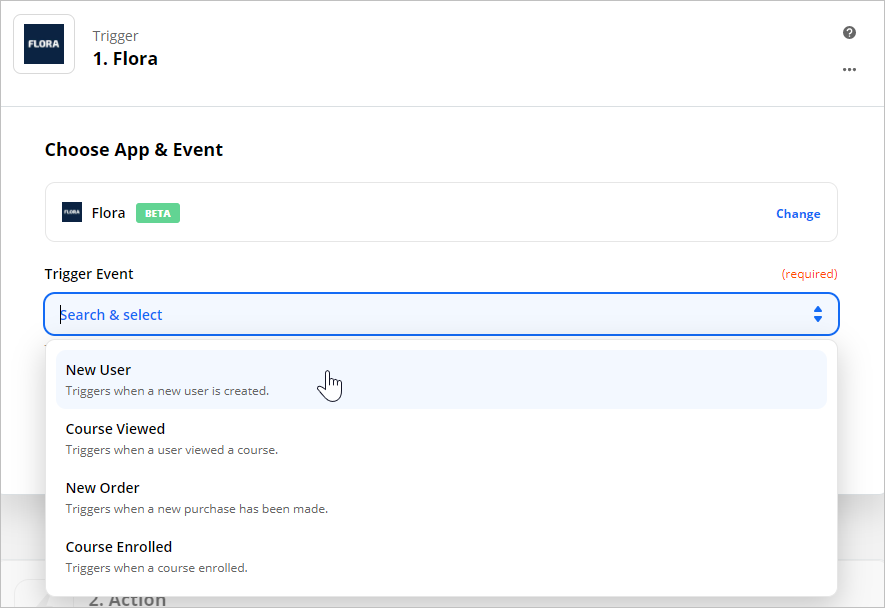
- Now select an event that is the trigger that will make the action happen. Three event types can become triggers in iSpring Market: adding a user, viewing a course, and a course purchase.
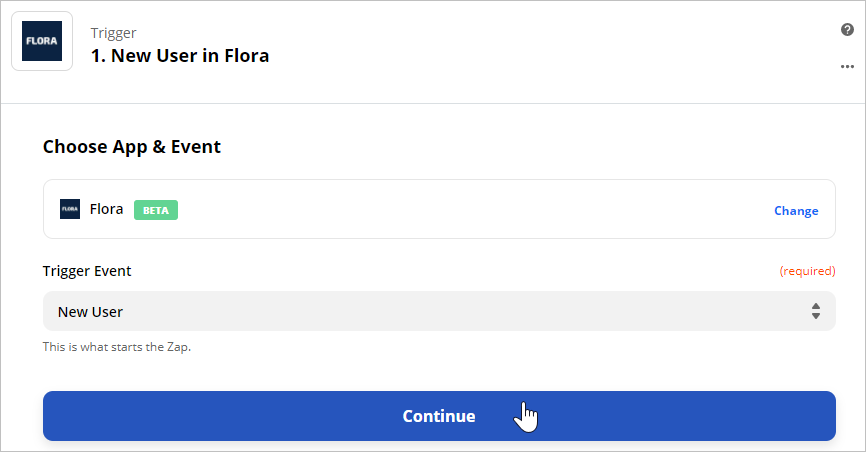
In our example, we'll choose the New User trigger event (adding a new user).
- Next, click Continue.
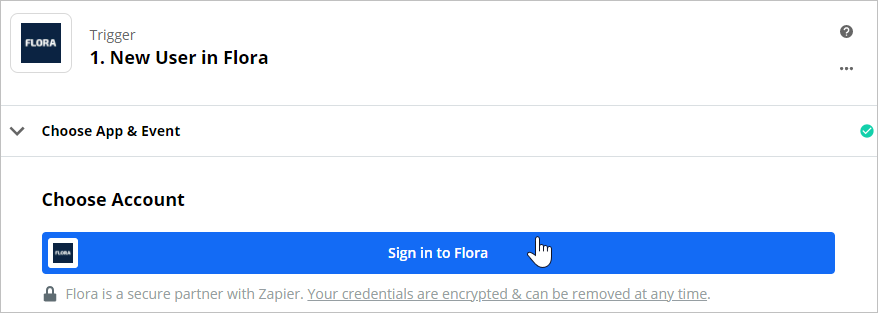
- Now, give Zapier access to your iSpring Market account data. To do this, click the Sign In to iSpring Market button.
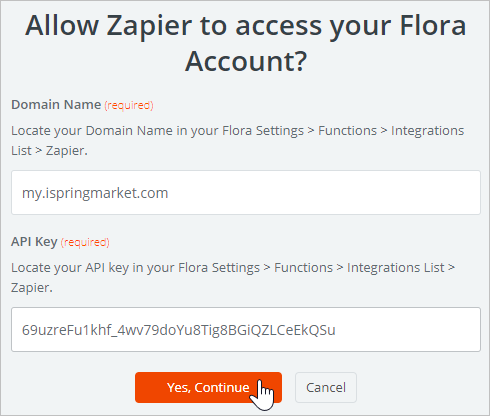
- Allow Zapier to access your iSpring Market account. To do this, enter the data that you copied earlier in your account: Domain Name (your account URL) and API Key.
Then click Yes, Continue.
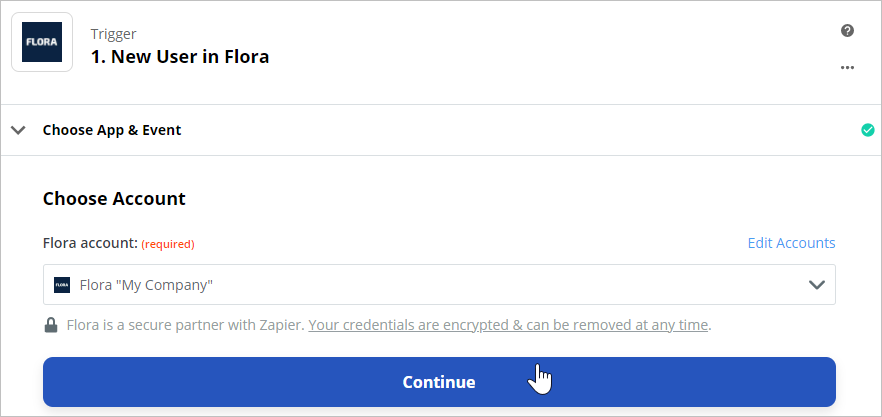
- Zapier has now received access to your account data and will be processing them from now on. Click Continue.
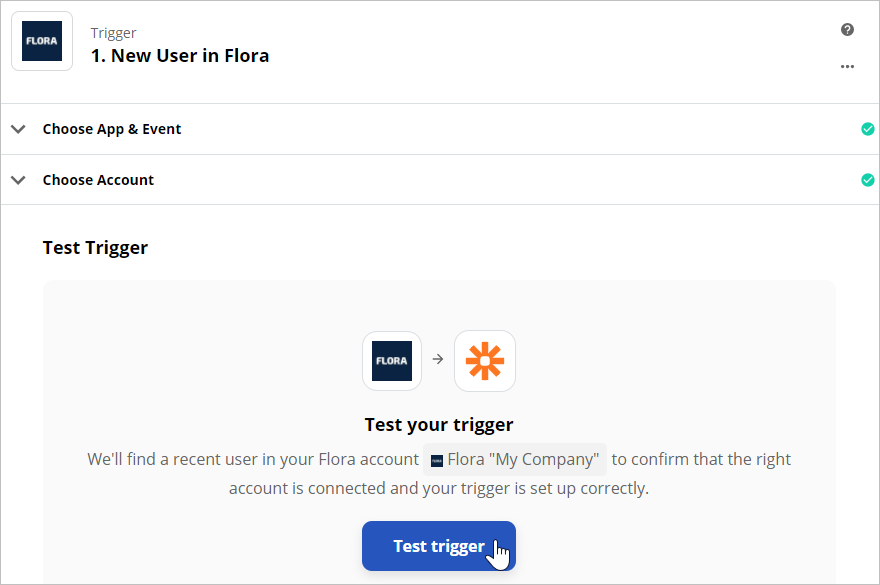
- Test if Zapier is able to retrieve data from your account. To do this, click Test trigger.
The first stage of creating a Zap is finished. Proceed to the next one: adding an action that will happen when a trigger event occurs.