Make an event paid and specify how much you charge for enrollment.
- Locate an event in the Events calendar and click Edit.
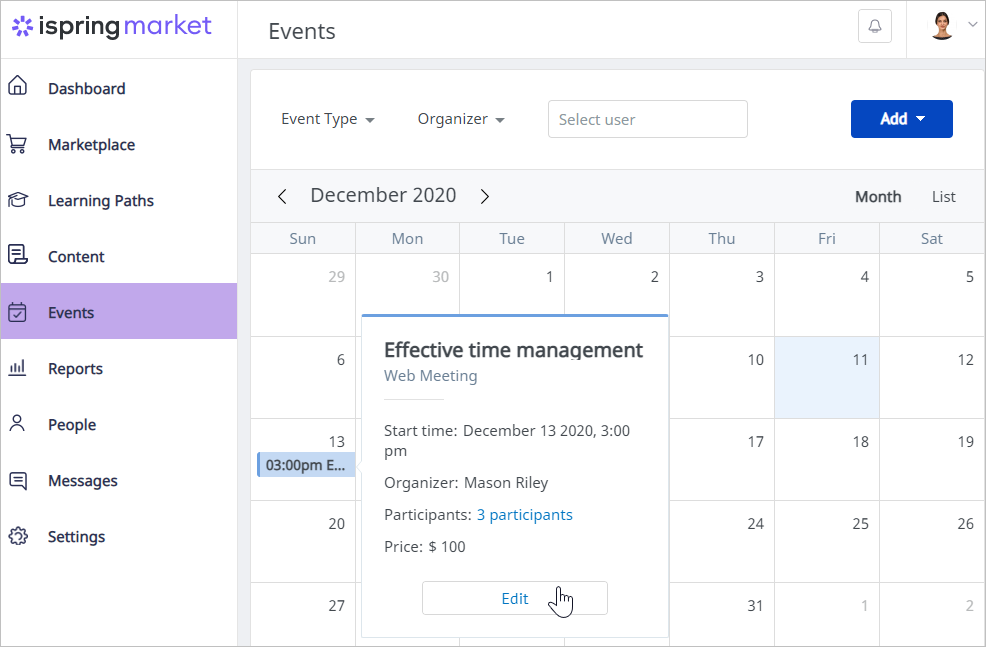
- Drag the Paid web meeting/Paid offline event toggle button to the right and specify the event price. The way to set the account’s currency is specified in the E-Commerce section.
- Save your changes.
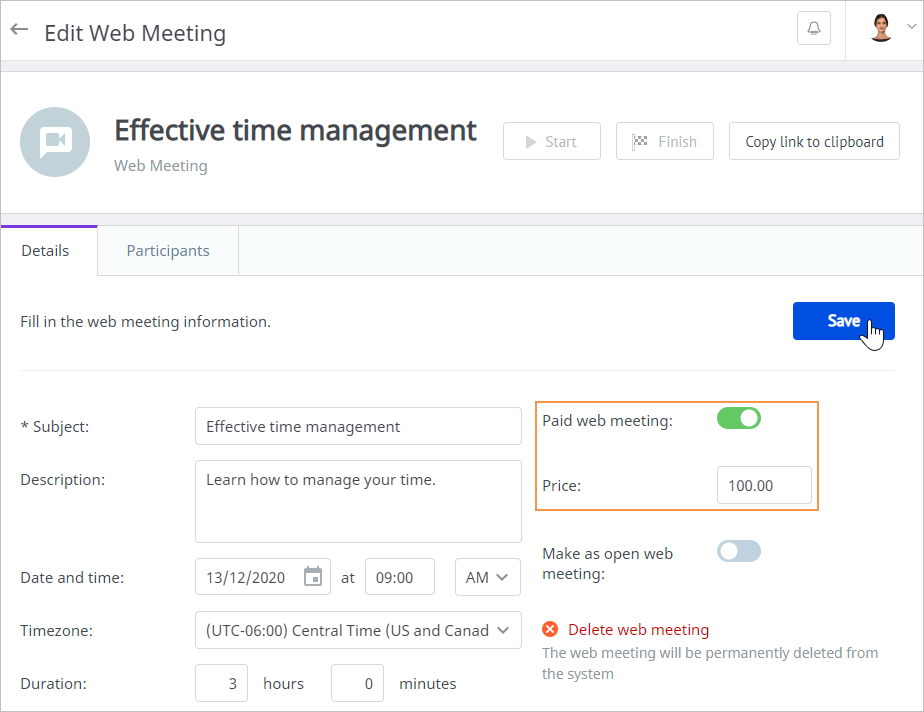
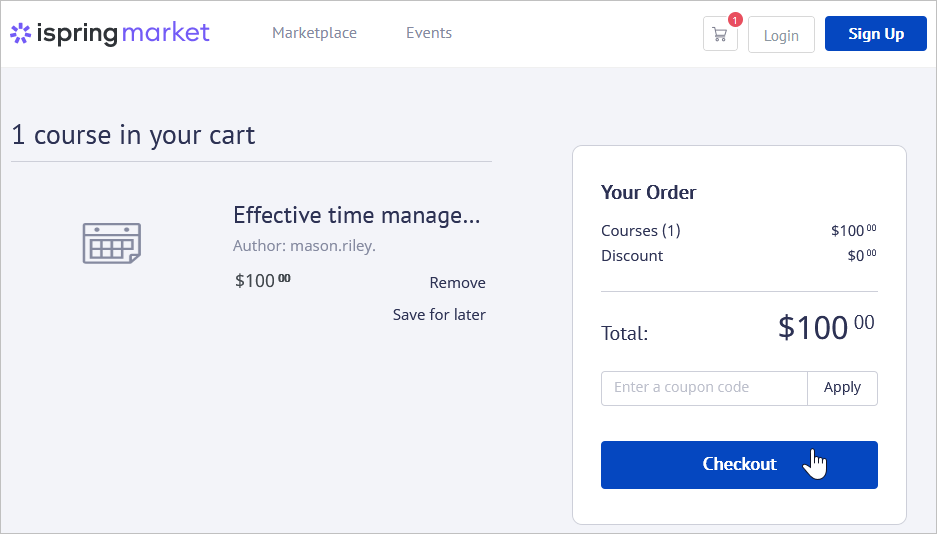
- The event has now been added to the marketplace. Users will need to make a payment to attend it.
Notes:
- To sell events, enable one of the payment systems supported by iSpring Market. If no payment system is enabled, it will not be possible to monetize your events.
- Check to see if self-registration is enabled in the account. If self-registration is switched off, new users won't be able to register in the account to attend the event.