Images will make your slides more interesting and attractive for students. An appropriate illustration helps to absorb the information faster and memorize it long-term.
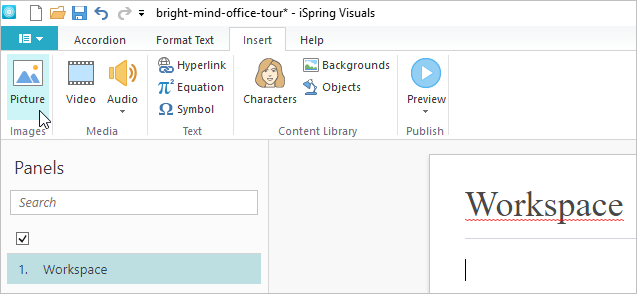
Inserting Image
- Place the cursor in the slide body. Open the Insert tab on the toolbar and click the Picture button.
Replacing Image
To replace an image hold down the left mouse button and drag the image to a new location.

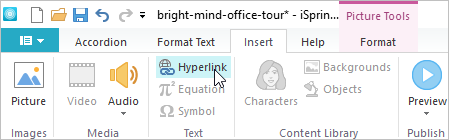
Hyperlinking Image
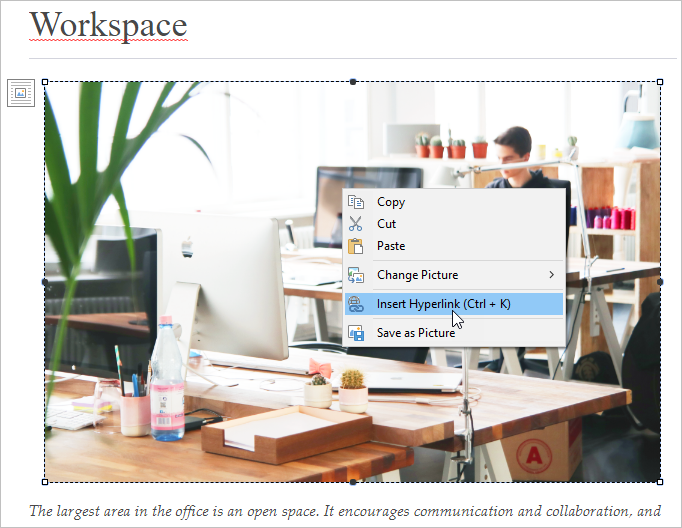
- Left-click on the image you want to hyperlink.
- There are two ways to hyperlink an image.
- click the Hyperlink button on the Insert tab:
- call the context menu by right-clicking and choosing the Insert hyperlink option:
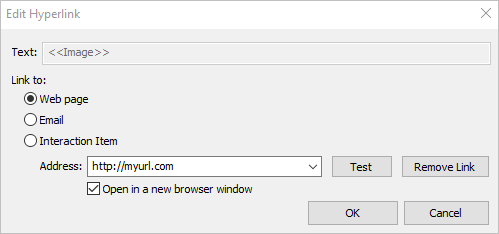
- Specify where the hyperlink will lead: a webpage, email address, or element of the interaction. In the corresponding field, enter the page address or email, or choose an interaction element from the drop-down list.
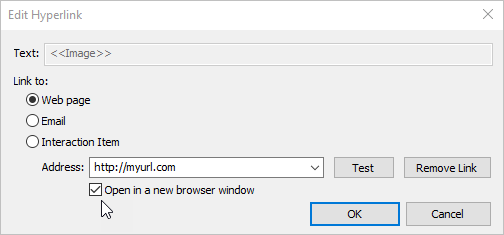
- Tick the Open in a new window checkbox to make the link open in a new browser window.
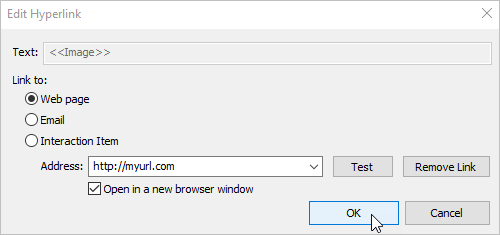
- Click the OK button to save the changes.
Editing image
To edit an image, left-click on it and a new Format tab will appear on the toolbar.

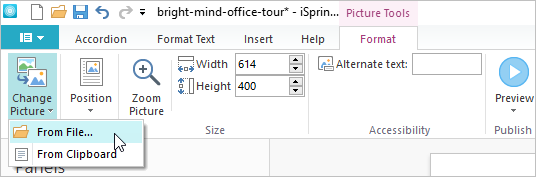
To upload a new image instead of the existing one, click the Change Picture button.
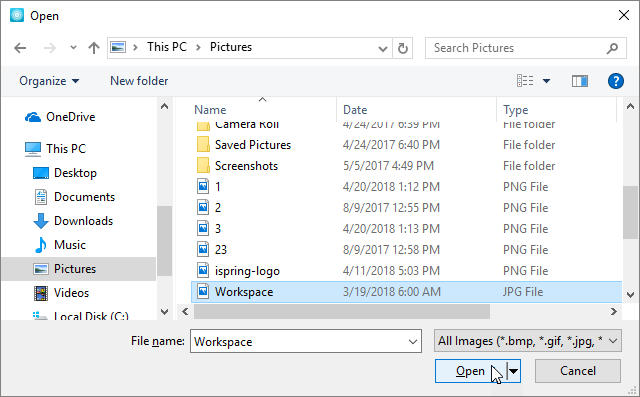
Choose the From File option to upload a new image from the computer.
Find the file you want to add and click the Open button.

If you have previously copied an image and want to insert it into the slide, choose From Clipboard option.

Positioning an Image
Click the Position button and choose the position option that suits you best.
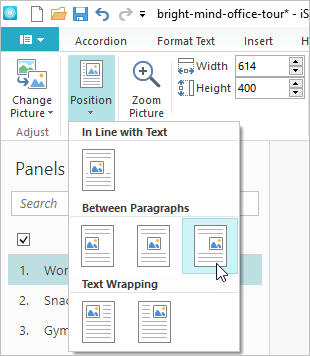
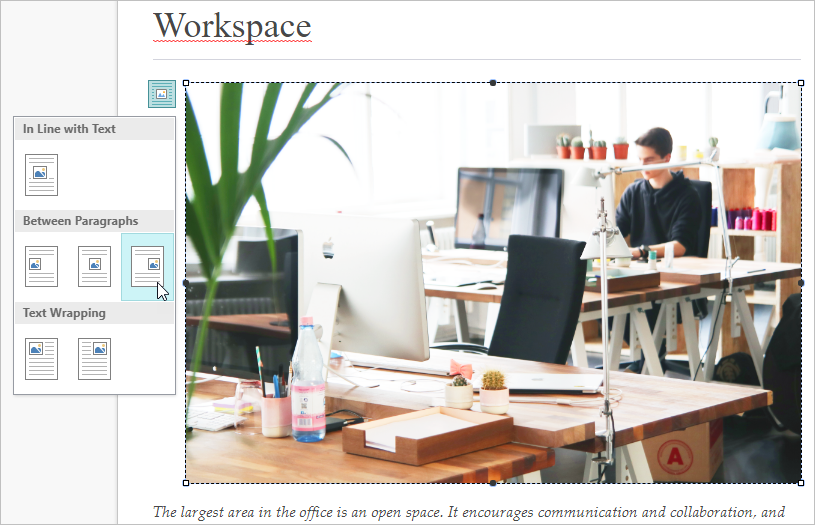
Also, you can set the image position relative to the text right in the slide. Right-click on the image and click the icon in the upper right or left corner. That will open a window with options
Zooming an Image
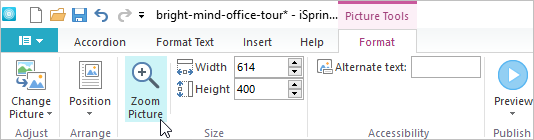
If you want the imaglarge on click while viewing the slide, press the Zoom Picture button.

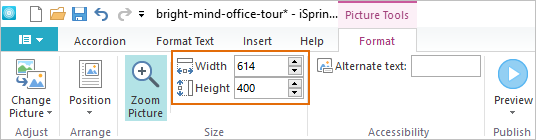
Changing Image Size

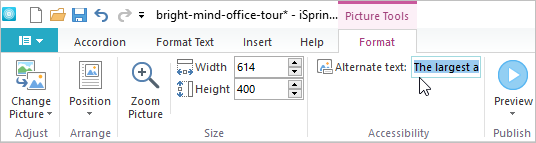
Alternate text
You can add to the slide image. To add a text, enter it in the Alternate text field.