To add a screen recording to your course slide:
- Click Screen Recording on the toolbar.

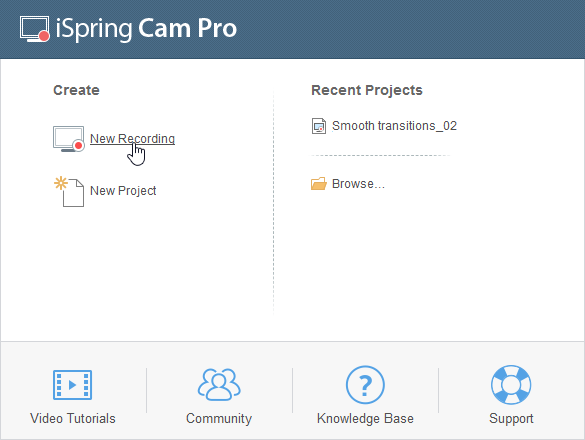
- Choose whether to Create a new recording or project, or Browse for a screen recording that you've previously created.
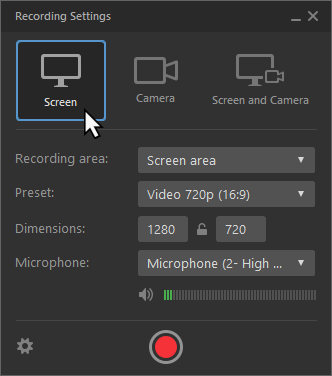
- Choose what you want to record: your screen, webcam, or both at the same time.
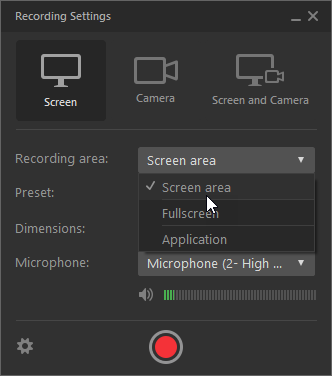
- Next, select the recording area to record your screen, slide, or a specific application.
- Click Start to begin the recording.
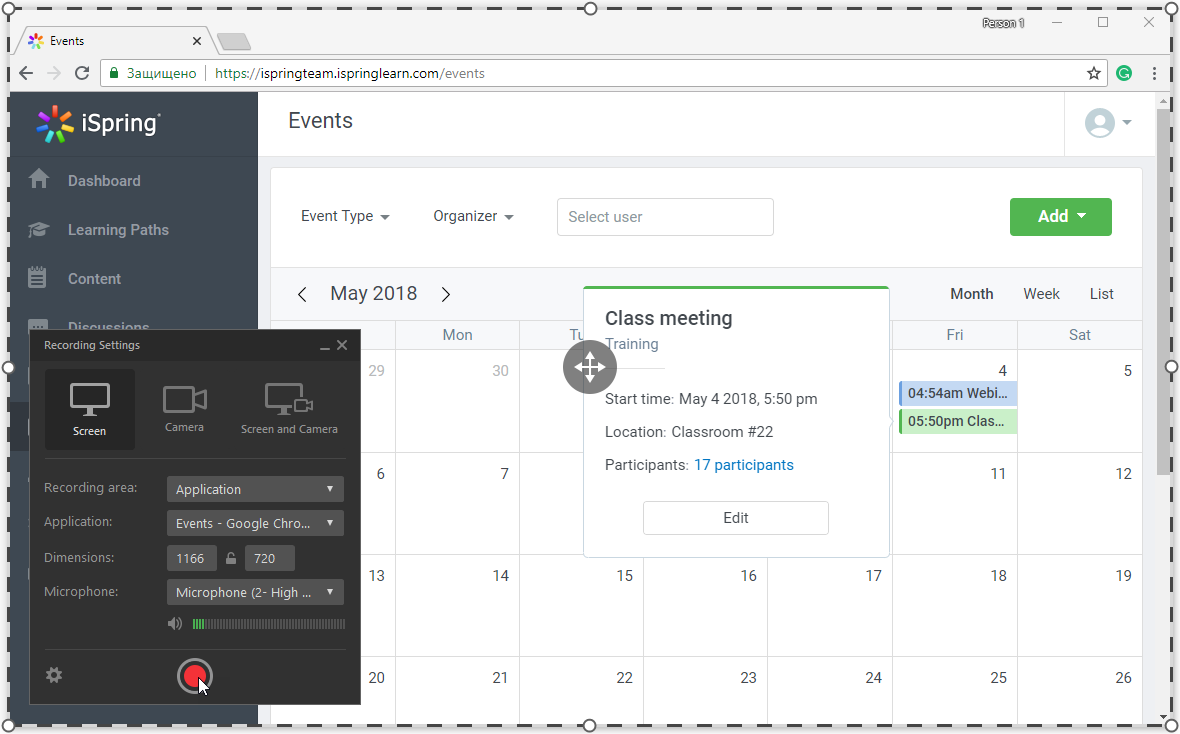
- Record your video and click Stop (F10) when you're finished.
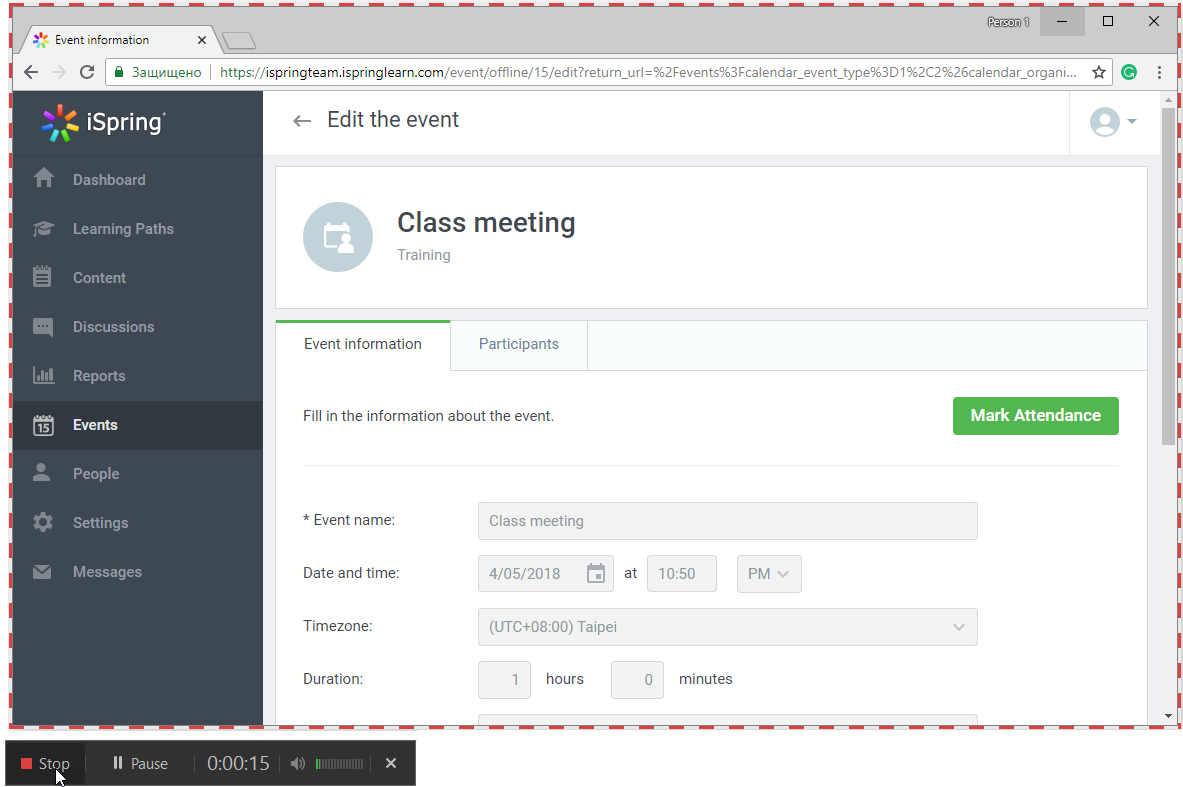
- Upon completion, the iSpring Cam Pro editor will open up, where you can edit your recording, add annotations, images, audio and video recordings to it, apply smooth transitions between parts of the video, and much more.
- To insert the recording onto a slide and return to your course, click Save and Return in the View Recording window.
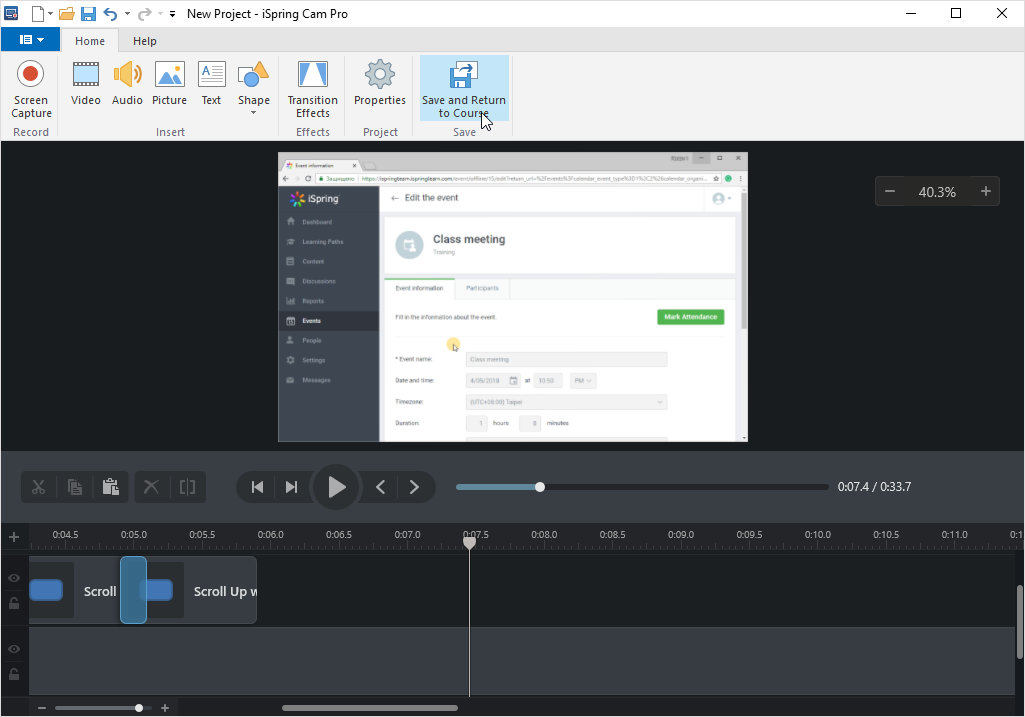
Your video recording will be placed on the selected slide of your presentation. If you want to edit your your video, select the slide containing the recording and click Screen Recording on the toolbar.
To remove the recording from your course, select it on the slide and click Delete on your keyboard.