Now, you can publish your quizzes directly to iSpring Cloud hosting and sharing platform with a single click from the QuizMaker interface.
To publish your quiz to iSpring Cloud:
- Click Publish on the iSpring QuizMaker toolbar.

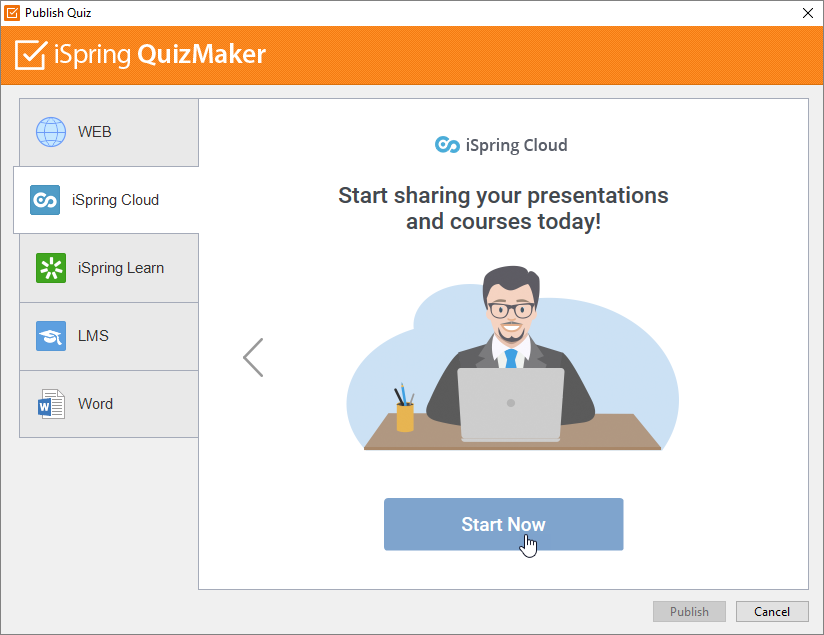
- Choose the iSpring Cloud tab. Look through the picture gallery and click Start Now.

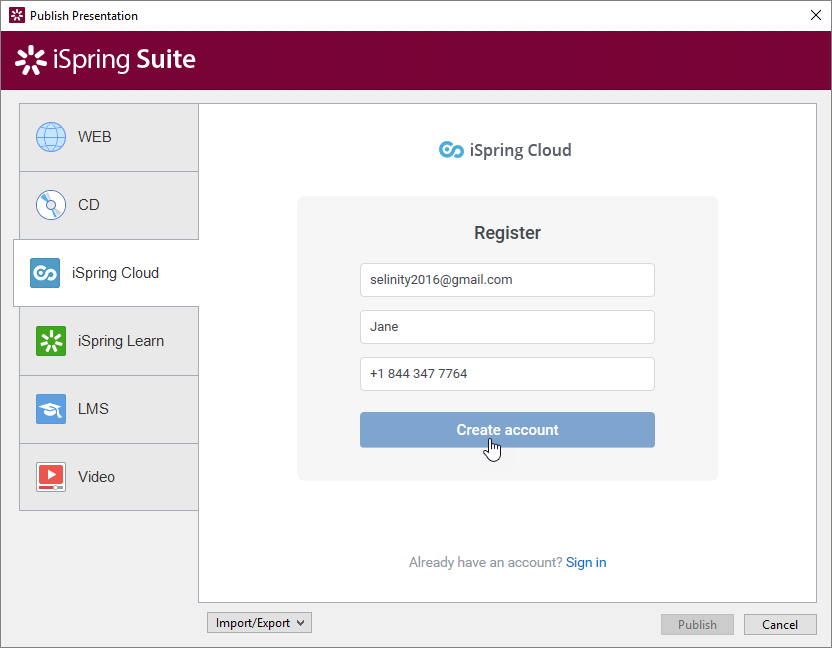
- Sign up for a free trial account. Enter your email, name and phone number and click Create account.

- If you already have an account, click the Sign In link at the bottom, enter your existing account details (Email and Password).
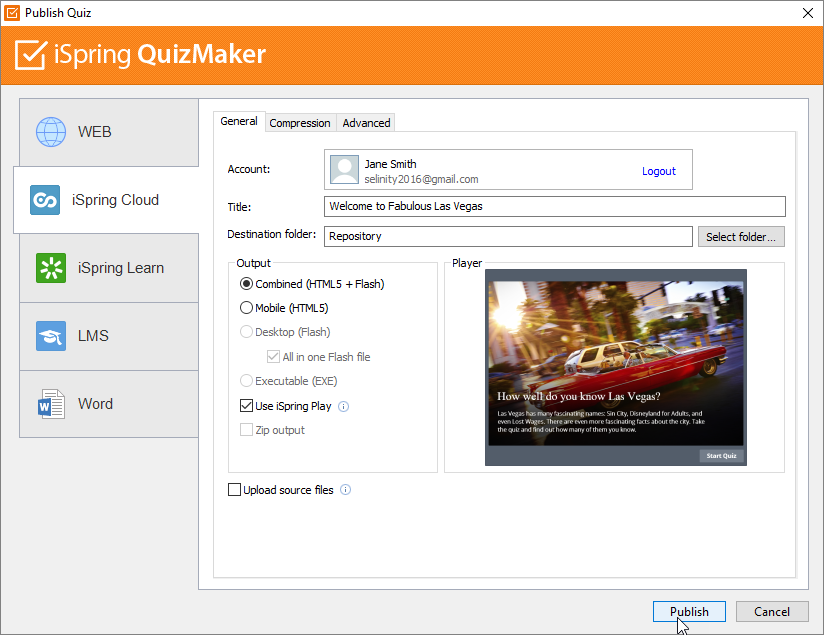
- When you enter your account details, iSpring validates this data, and you will see your email address in the Account field.

Click Select folder on the right of the Destination folder field and select the folder to upload your content. By default, your quiz will be uploaded to the general content list (Repository).
- Select the Use iSpring Play checkbox, if you want to access your quiz on iPhones, iPad and Android devices in the iSpring Play app.
- Check the box Upload source files if you would like to upload the source files of your quiz to iSpring Cloud.
- Click the Publish button.
iSpring QuizMaker will convert your quiz to Flash and HTML5 and then upload it to your iSpring Cloud account. This is a time consuming process and it may take a few minutes.
Once your content is successfully uploaded, you will see the dialog "Uploading complete". If the content uploading process fails, please refer to the iSpring Knowledge Base, iSpring Community Forum or contact our Support Team.
Every element of your content has to have a unique title. If you put in the title that has been already given to any other element of your content, iSpring asks you to either replace the existing element of your content or rename the newly-uploaded file.
If you don’t have Internet connection or you use Proxy server to publish the quiz, you can upload the quiz to iSpring Cloud manually via iSpring Cloud Web interface.