If your computer is disconnected from the Internet or online publishing doesn't complete because of an antivirus program or a proxy server error, you can upload the presentation to iSpring Learn manually.
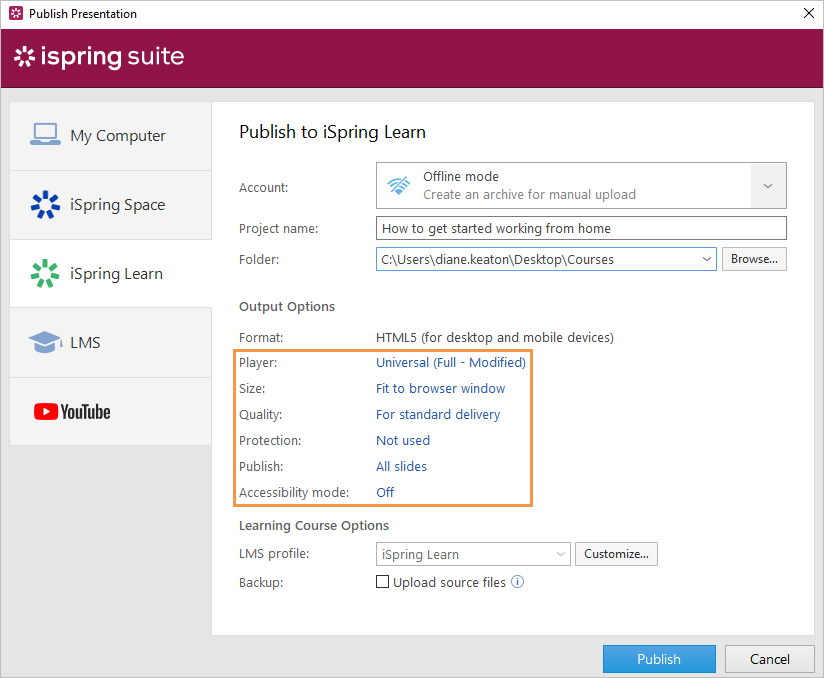
- Go to the Account menu and select Switch to offline mode.

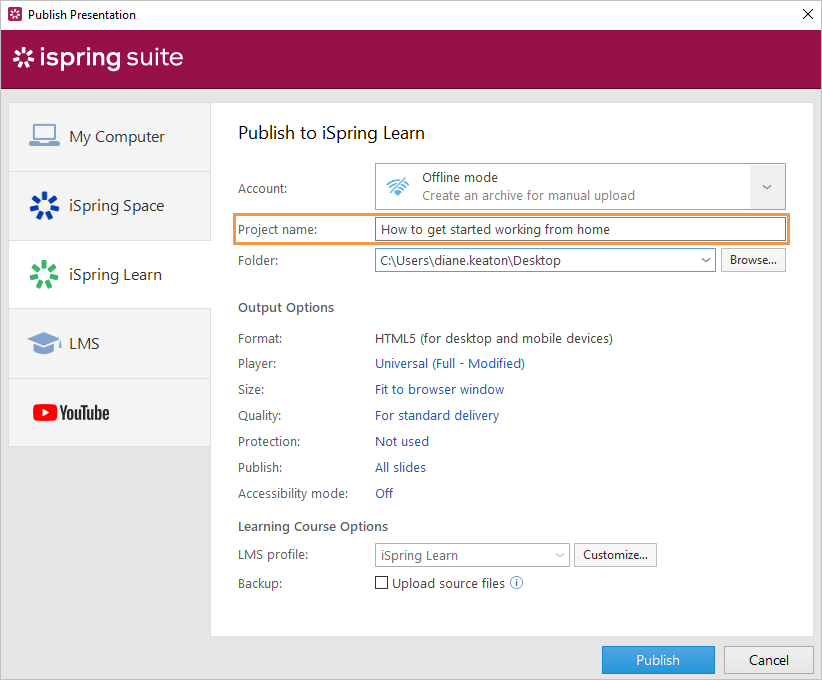
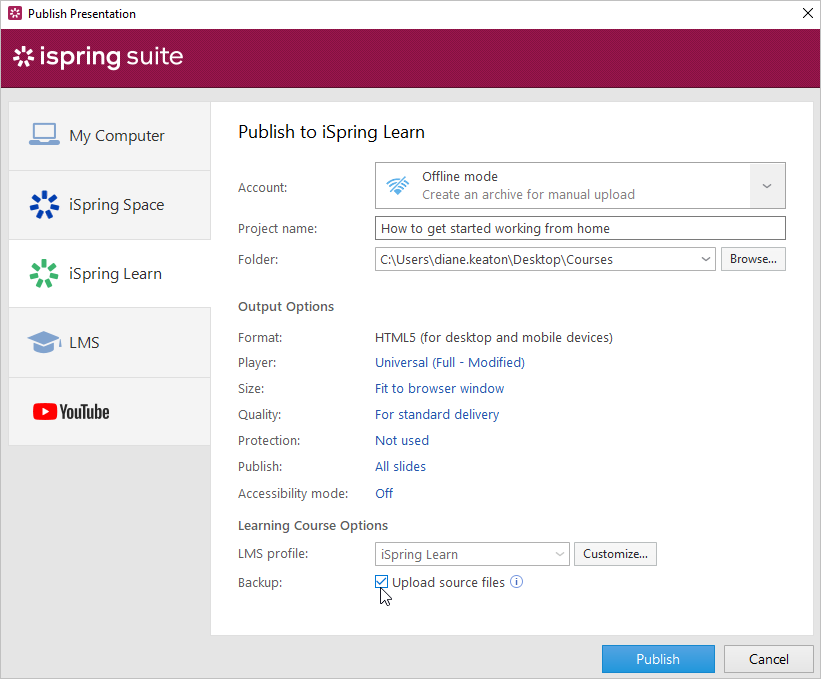
- Enter a title in the Project name field. By default, the name is the same as that of the PowerPoint presentation.
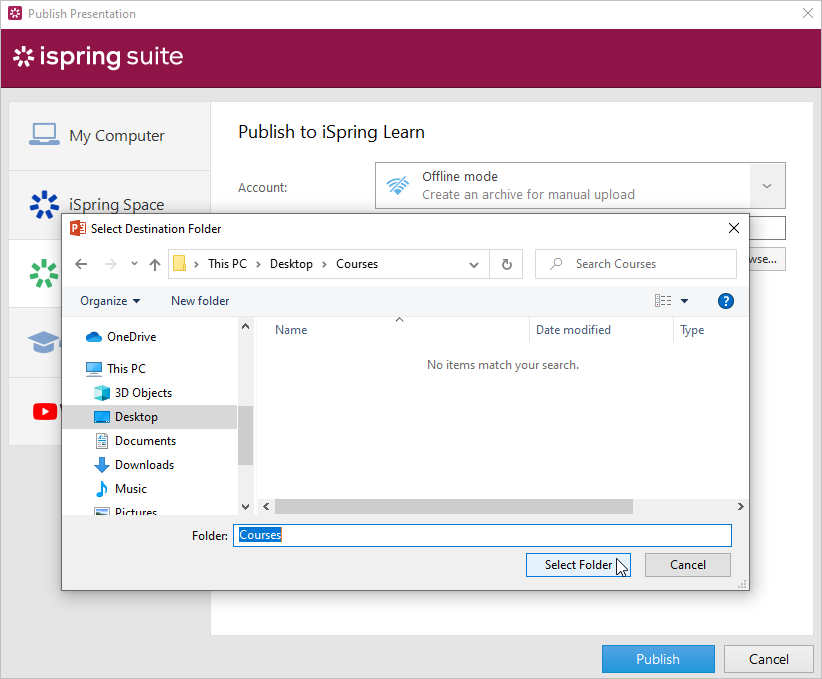
- Specify the local or network folder in which the content item will be saved in the Folder field. To do this, click the Browse... button on the right.
- Then, set up output options:
- Next to the LMS Profile menu, click Customize to change additional information about the content author, description, tags, and completion settings.

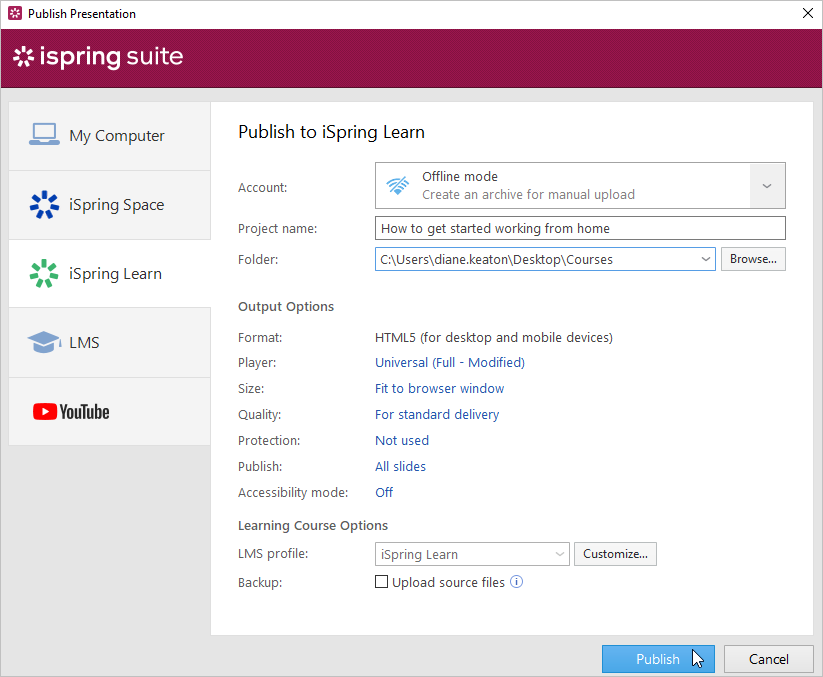
- In the Upload Options section, check Upload source files if you want to save the source content files in iSpring Learn. That way, you can work on the project in a team or store a backup copy of the item in the cloud.
- Finally, click the Publish button.
- After publishing is complete, click the Open Folder button.
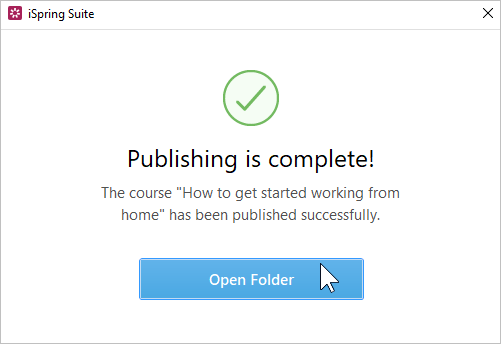
iSpring Suite creates a package that is ready for uploading to iSpring Learn. Now you can log into your iSpring Learn account and upload this package to a course at any time. To learn more, read the detailed instructions for uploading content via the web interface.