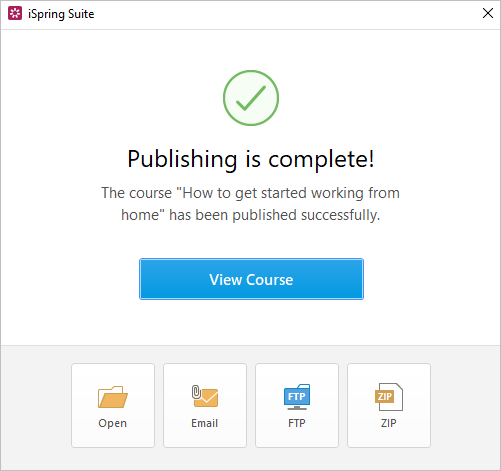
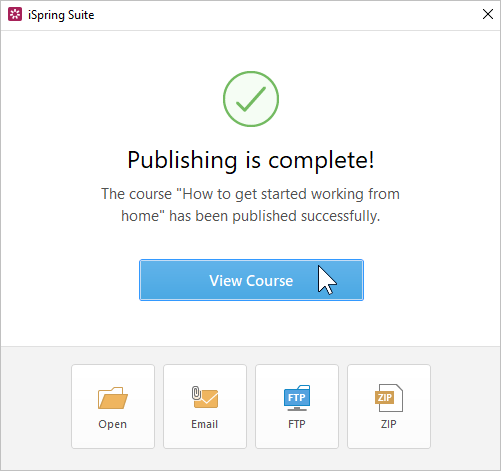
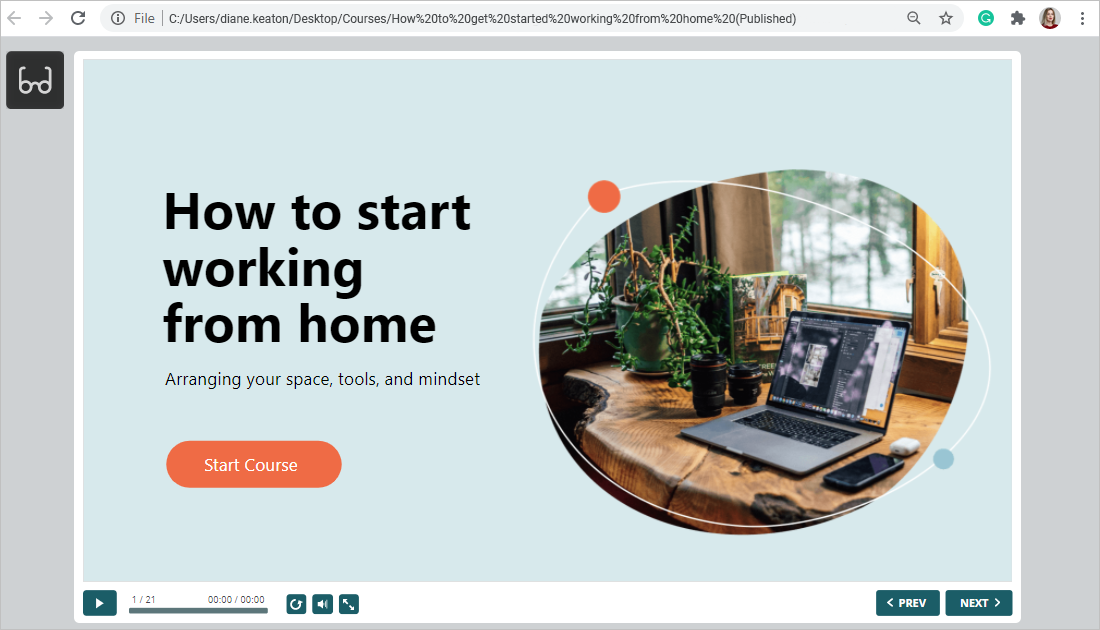
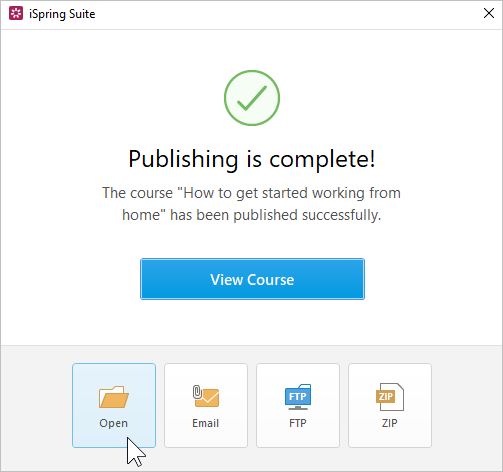
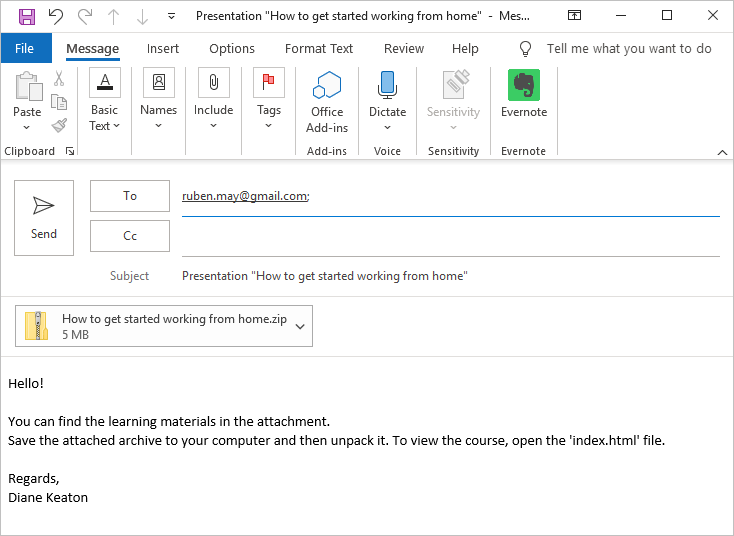
Sending a Course via Email
- If you want to send your course via email, click the Email button.
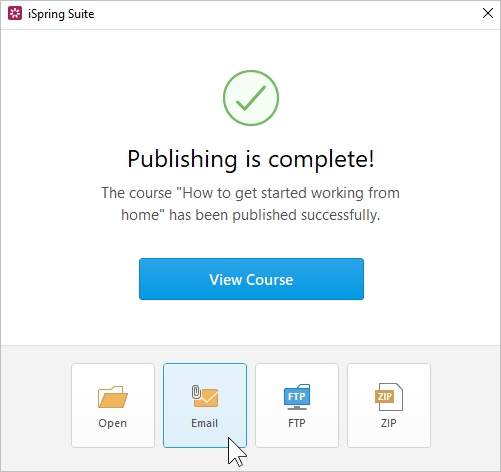
- A new email with the course attached to it will be created by your default email client. You can specify the email address of the recipient and send it.
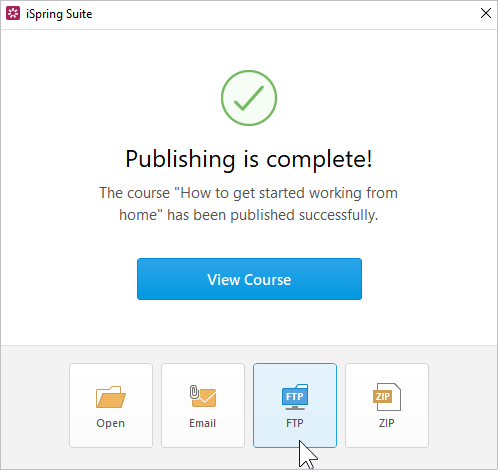
Uploading a Course to FTP
- Click the FTP button in the window that opens after publishing is completed.
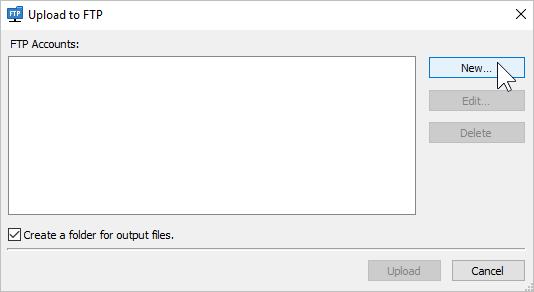
- You will see a window where you can add, edit, and delete FTP accounts. Select the Create a folder for output files option to create a new folder with the course name on your server. To create a new FTP account, you need to click the New button.
Next, fill out the form that appears.
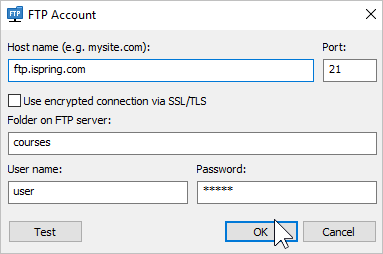
| FTP Account |
|---|
| Host name | The host name (i.e., mysite.com) or IP address (i.e., 77.77.55.88) of the webserver that the course will be uploaded to. |
| Port | FTP servers generally use Port 21, but sometimes the port number may differ. For more information, contact your network administrator. |
| Use encrypted connection via SSL/TLS | The program will establish a secure connection with a server using FTP with TLS/SSL (FTPS). |
| Folder on FTP server | The path to a folder on the FTP server. |
| User name | If anonymous access to the FTP is not allowed, type in your username. |
| Password | If anonymous access to the FTP is not allowed, type in your password. |
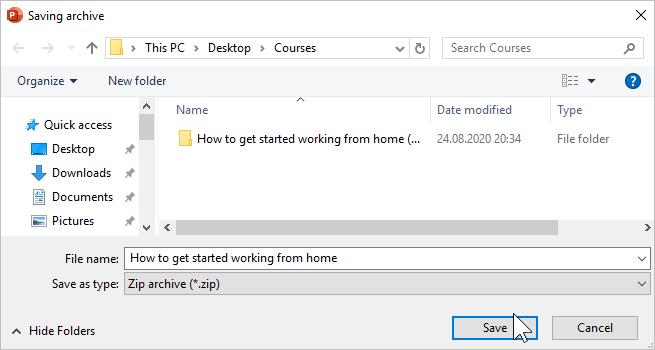
Converting a Course Into a ZIP Archive
- If you want to compress your course into a ZIP archive, click the ZIP button.

- Save the archive to your computer.