How to Record a Voice Over in iSpring TalkMaster
- Click Voice Over on the toolbar.

- The script panel will expand on the left-hand side.

- Select the respective message from the list and click Record.

Note: you can see the icons in the left column . They determine the type of voice: narrator, character, and reply choices.
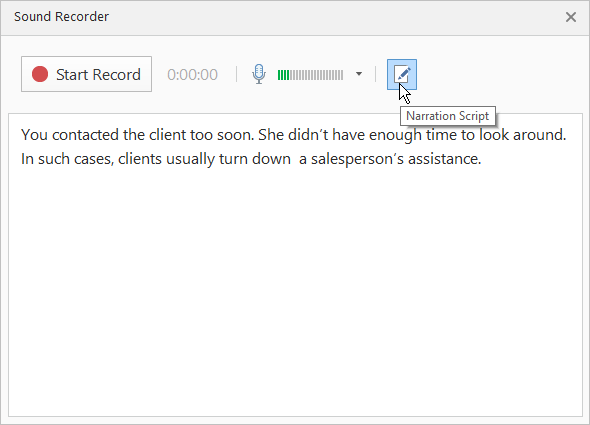
- The Sound Recorder window will pop up.

- You can click on the Narration Script icon to show the script below.
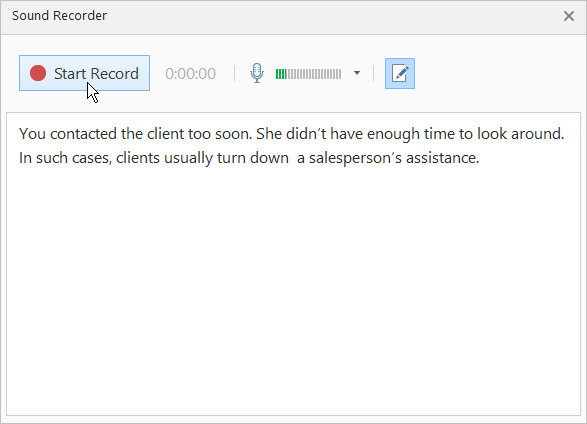
- Click Start Record and record your voice over.
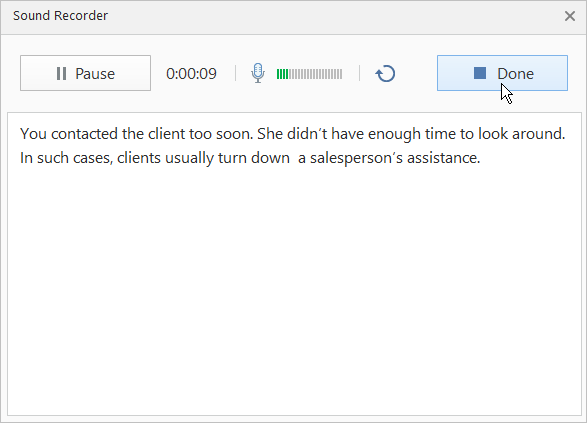
- To finish recording, hit the Done button.
- After you record the audio, feel free to edit it. To do this, select a scene with a recorded audio and click Edit on the toolbar.

- Remove noise, trim the audio, and adjust volume if needed. Learn more about editing audio in the Audio Editor section of the our documentation.
How to Import an Audio for a Scene or the Entire Role-Play in iSpring TalkMaster
You can import files individually by clicking the Import icon on the respective messages.
If you want to send the script for professional audio recording, or record all audios in a third-party application, you may want to use the Export Script and Bulk Import options. Follow these steps:
- Click the Export button on the toolbar and select Export Script.

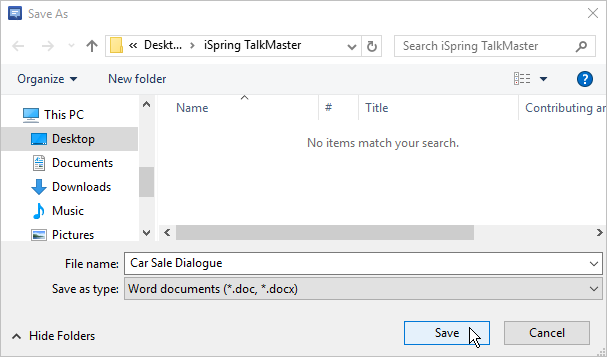
- Save it to a .doc file on your computer and then send to a voiceover actor. You can find one on voices.com.
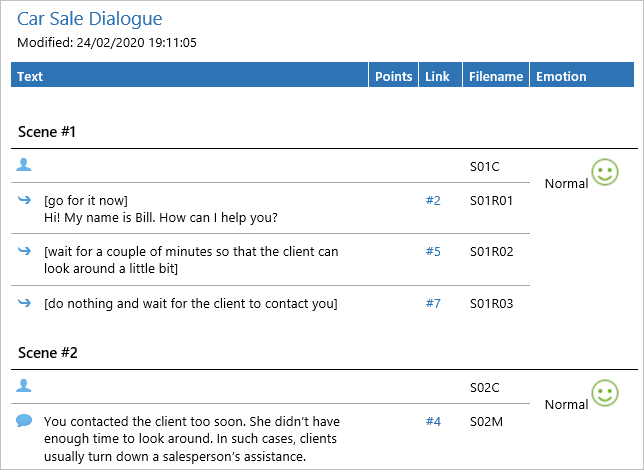
- If you open the script file, you will see the script text and the file names, needed for bulk import. Make sure that you match the particular recording with the respective filename (inform your voice actor about that).
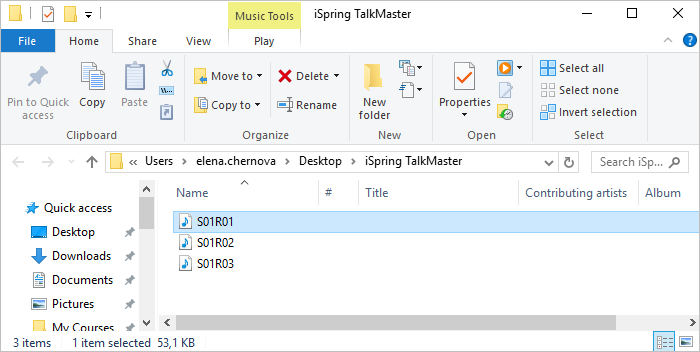
- The recorded audio folder for this project will look like this.
- Click the Import button on the toolbar and select Bulk Import.

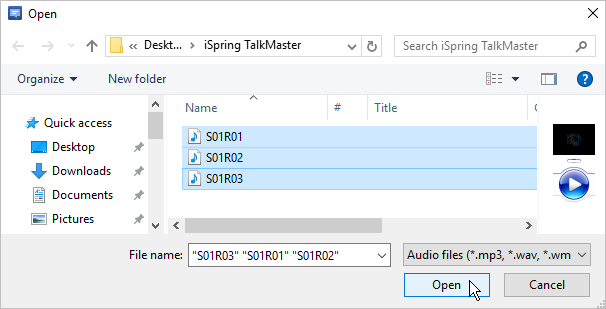
- Select all files in the folder with the voiceover (Ctrl+ A) and click Open. You can import .wav, .mp3, and .wma audio files.
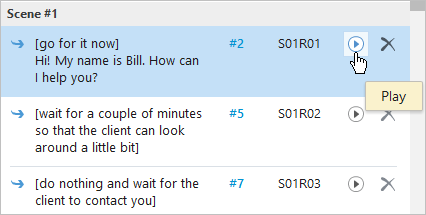
- After import is finished, you will see play buttons opposite the messages to which audios were successfully imported. You can preview them from here.
- If some messages were not imported automatically, double-check that their file names are correct and do bulk import again. You can also import a single file audio file with any filename using the Import from file option.
