- To import your audio narration, click the Audio button.

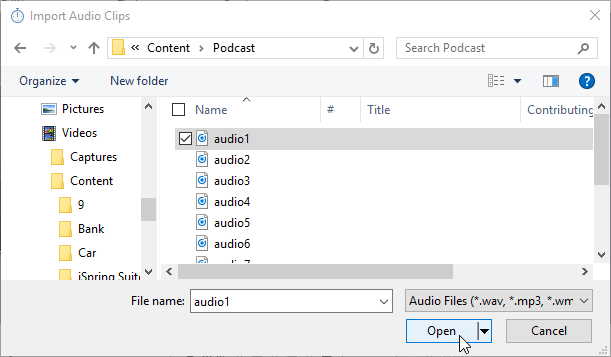
- Then, select one or multiple files that you want to import in the Import Audio Clips window and click Open.

- In the Import Audio dialog, you can select one of the available options:
| Options | Description |
|---|
Insert clips at current cursor position | Audio files will be inserted at the current cursor position. If you have several clips to import, they all will be added to the timeline one by one. |
Insert clips at the beginning of the slide | Audio file will be inserted at the beginning of the selected slide. You can select any slide in the list. If you import multiple audio files, each file will be added to the slides one by one starting from the selected slide. Check the description for the Adjust slide duration option below. |
| Adjust slide duration | This option affects the Insert clips at the beginning of the slide mode. If this option is selected, the beginning and the end of the audio clip will match up with the slide length. If you upload multiple audio files, one file will be added to one slide one after another starting from the selected slide. |
iSpring Suite supports the following audio formats: wav, mp3, wma.
Files will be imported in alphabetical order. All imported files will be automatically copied to the presentation resource folder. If you decide to move the project to another computer, you will need to transfer the presentation and the folder with the resources so the imported files will not be lost.